With the react-dom package this can be easier then expected. The idea is, add the react component directly to the DOM
Build Environment
When you have a project directory made by yo from the sdk, you’ll need a couple more node.js module:
npm install -save react
npm install -save react-dom
Then make the two files
react.js
react-dom.js
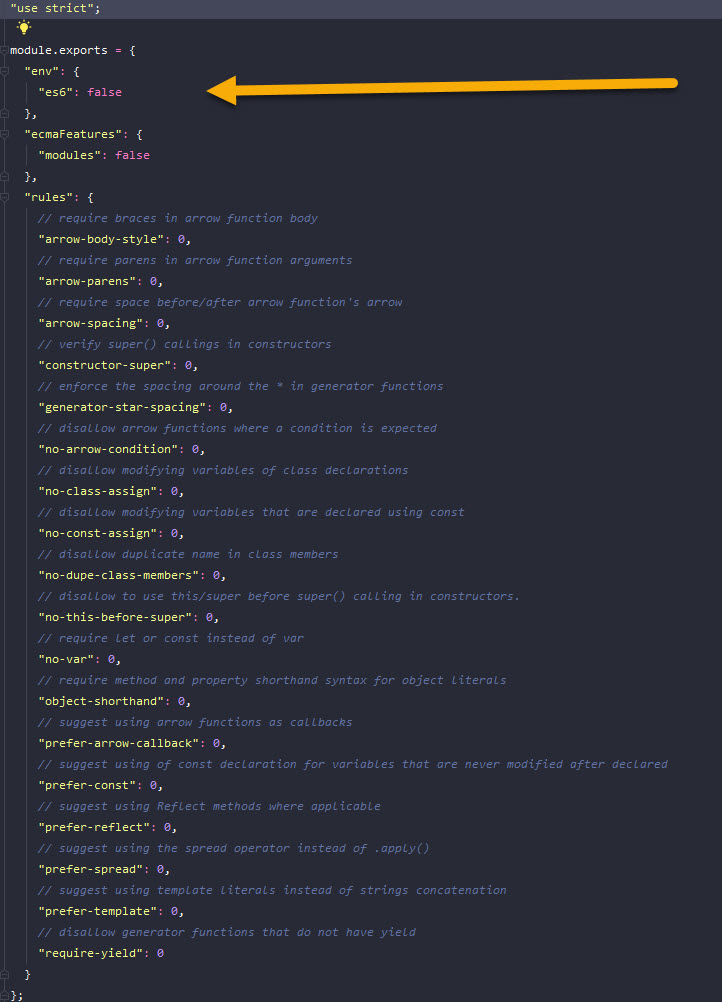
ready for use with require, either by directly requiring them or use the require in the src path of your development. Dont forget, you cant use the IMPORT statement, because its ES6. The exact procedure depends on your project build modifications .
First steps
The React component
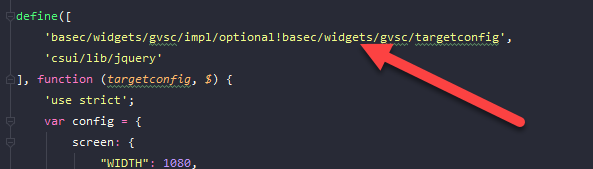
define([
'basec/widgets/hello/impl/lib/react'
], function (React) {
'use strict';
class UserInfo extends React.Component {
render() {
var img = this.props.img, name = this.props.name, mail = this.props.title; return (
React.createElement("div", null, React.createElement("img", {width: "100", src: img}), React.createElement("div", {className: "name"}, name), React.createElement("div", {className: "mail"}, mail)));
This component is a simple div containing an image link and two other divs with content (name and mail)
The sdk demo widget
Then use the sdk demo widget, which will be generated, if you tell yo to do so:
yo csui-extensions:widget
This will add a widget/hello tree in your source tree (if your name for the widget was hello), The first couple of lines in the hello.view.js are:
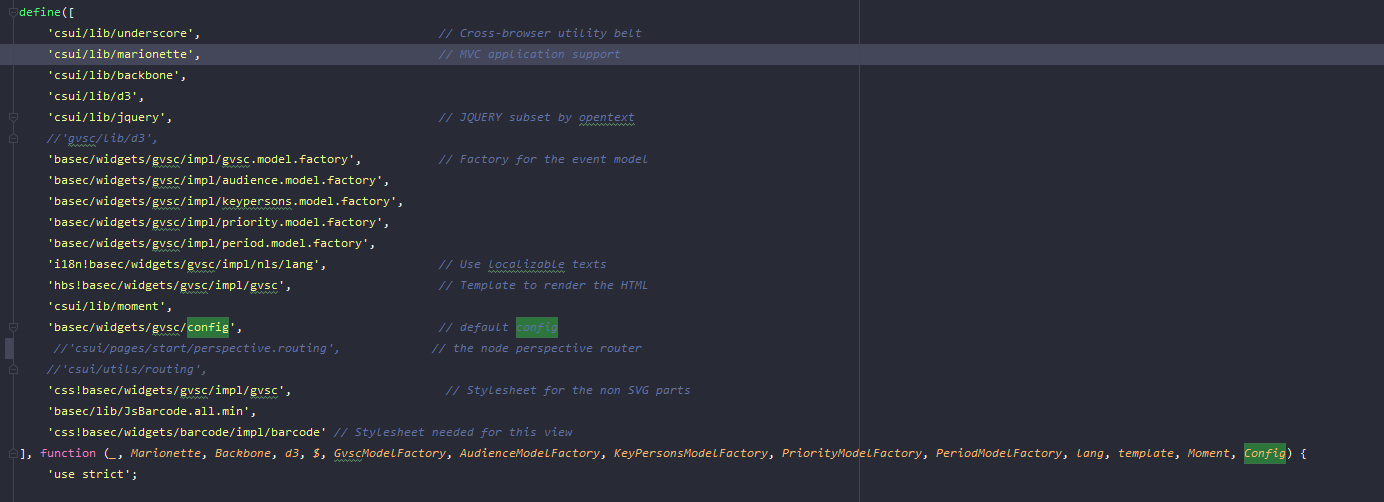
define([
'csui/lib/underscore', // Cross-browser utility belt
'csui/lib/jquery',
'csui/lib/marionette', // MVC application support
'basec/widgets/hello/impl/hello.model.factory', // Factory for the data model
'basec/widgets/hello/impl/lib/react',
'basec/widgets/hello/impl/lib/react-dom',
'basec/widgets/hello/impl/UserInfo',
'i18n!basec/widgets/hello/impl/nls/lang', // Use localizable texts
'hbs!basec/widgets/hello/impl/hello', // Template to render the HTML
'css!basec/widgets/hello/impl/hello' // Stylesheet needed for this view
], function (_, $, Marionette, HelloModelFactory, React, ReactDOM, UserInfo, lang, template) {
'use strict';
// An application widget is a view, because it should render a HTML fragment var HelloView = Marionette.ItemView.extend({
First we need react and react-dom as modules. They are added here via define. I put it in some weird place, but this is up to you where to put this two modules. There are also a couple of different possibilities to get react and react-dom inside a module.
Next, we need a place where we can add our react component. So lets add this in the hello.hbs file:
...
<div id="userreact">
And this is the react component
</div>
this is simply a div going to held out react component.
The react-dom plays its role
The react-dom can render the component to a designated element, something like the $el element. We added a div with the id “userreact” in the hbs file above.
Now we can render the handlebars template. In Marionette, there is an onRender event routine, which can be used to spice up any rendings of Marionette.
onRender: function() {
var name = this.model.get("last_name");
var mail = this.model.get("mail");
var img = this.model.get("photo_url");
ReactDOM.render(
React.createElement(UserInfo, { name: name, mail: mail, img: img }),
this.$("#userreact").get(0));
},
In the onRender function, all is rendered and we now have a DOM. Now we can render our component.
- We need to provide your component with some data. So we extract these from our userdata model we got from the content server. This is more or less the equivalent to our old friend template_helper
- The ReactDOM is supposed to render the element UserInfo with the parameters in our div with the id “userreact”
Housekeeping
When the Backbone view’s remove method is called (from the csui app from the content server), we need to remove also our react component.
So lets add our Remove in the Backbone remove()
  remove: function() {
    ReactDOM.unmountComponentAtNode(this.el);
    Marionette.View.prototype.remove.call(this);
  },
Btw: If you want to use jsx for react ui definitions, you should amend your build process with the babel transpiler. This is an example of jsx and quite different to javascipt.
const element = ( <h1 className="greeting"> Hello, world! </h1> );The transpiler basically builds this structure
// Note: this structure is simplifiedconst element = {type: 'h1',props: { className: 'greeting',children: 'Hello, world!' }};
Summary
- Install react and react-dom and make them requirable.
- Build or get the react components. Make them requireable.
- Require this components from your view.
- Add an anchor to your hbs file.
- Let Backbone-Marionette render.
- In the OnRender callback, gather all data for your react component and let react-dom render the component to the anchon.
- Use standard JQuery to get data from the react-component.
Some further infos (on pure Backbone/React things without smartUI reference)
Integrating React with Backbone
Using BackboneJS successfully with React (using MobX)
Thats it.
But nevertheless not often used in our OpenText smartUI practical live. 🙂