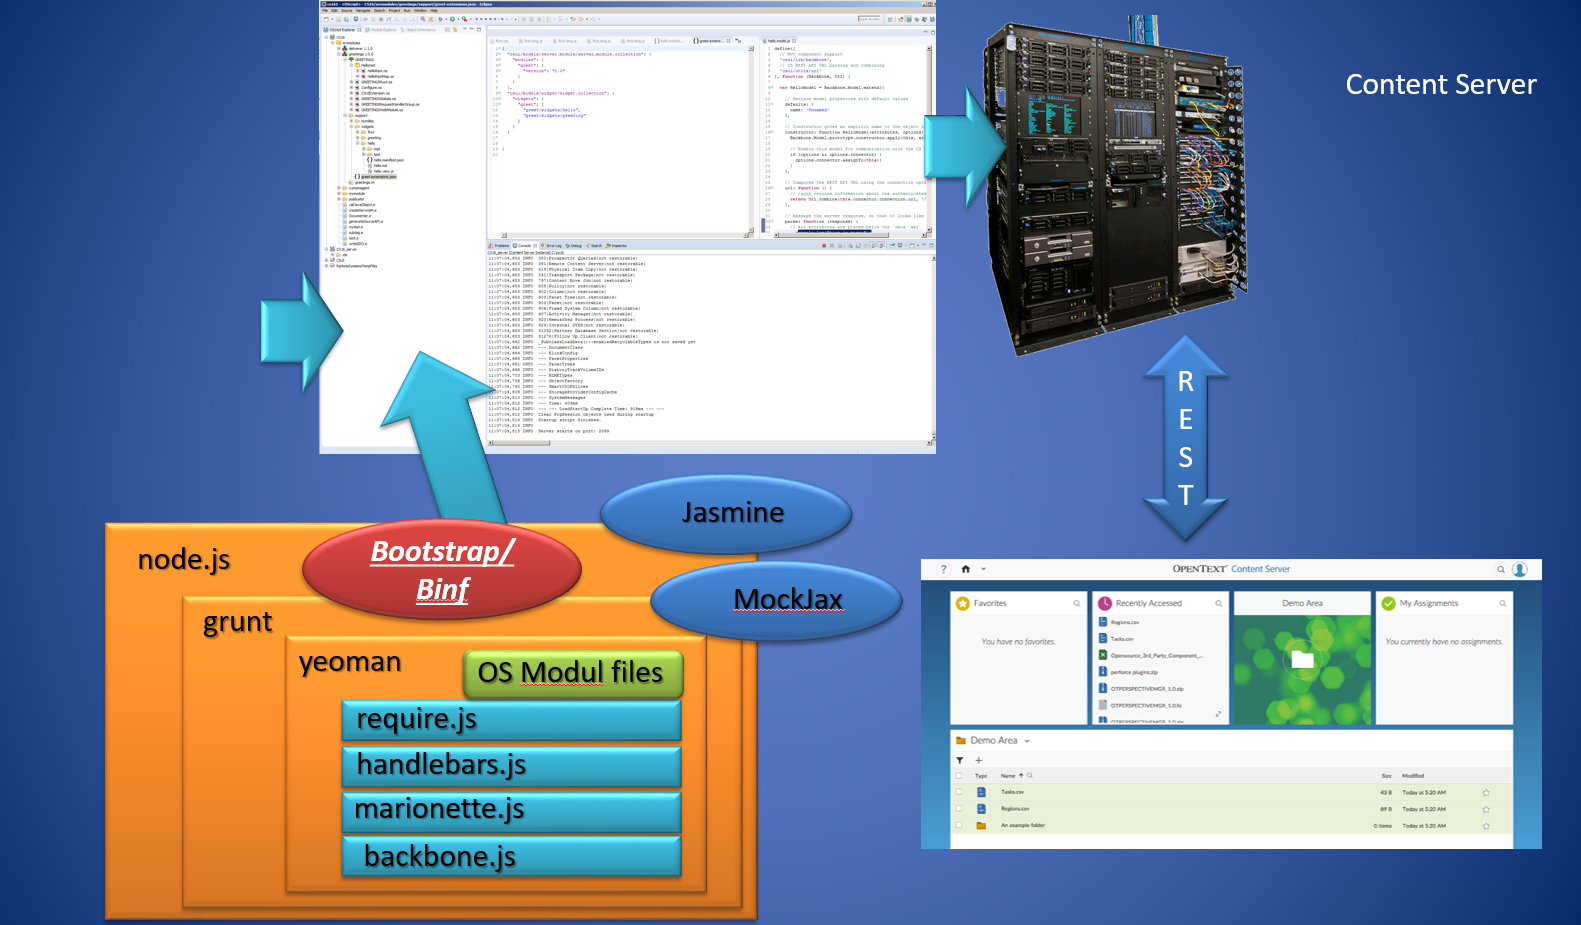
The actual Content Server release 16.2.8 brought a lot of improvements to the smartUI SDK, for example the xECM and the connected Workspaces Widgets are nowadays part of the SDK.
Also a lot of of people were interested in smartUI, not only Developers.
So we introduced an updated 5 days training to reflect the changes of 16.2.8 and a 2 days training to provide an overview of the SDK. Naturally, a 5 days training gives more information and also more exercises than a 2 days training, but this 2 days training can provide a good overview for Team Leaders and technical Managers.
For those with little time, there is also a 1 day training giving you a more compact overview for technical Managers and technical Evangelists. The one day training is not recommended for Developers. This training was held at the Enterprise World in Vienna 2019.
Whats new in the trainings?
New in the basic training
The Chapter 6 (SDK Intro) (5 days training Basic)
- 6.1 Introduction
- 6.2 Installing the SDK. Different Installations in 16.2.4 and 16.2.8. (NEW)
- 6.3 Building the Demo Widget
- 6.4 CSS Style Overrides Binf (OpenText Bootstrap Version)
- 6.5 General Overview
- General Overview
- General Architecture, Coding Guidelines
- Logging, Internationalization and Localization
- 6.6 Content of the SDK
- 6.7 Routing Preview (see adv. Training for a more detailed discussion)
- 6.8 New Command
- 6.9 Custom Column
- 6.10 Metadata
- 6.11 Define a new Nodetype
- 6.12 Create a Widget
- 6.13 Base Widgets. Detailed info’s on base widgets.
- Favorites
- Recently Accessed
- MyAssignments
- Shortcut
- Shortcuts
- Metadata
- NodesTable
- DocumentOverview
- Search Results (NEW)
- Permissions (NEW)
- Html.editor (NEW)
- Navigation Header (NEW)
- 6.14 Controls and Contexts
- Controls
- Node Picker
- Modal Alert
- File Open
- Perspectives: Grid, Single, Left-Center-Right, Tabbed, Tabbed-Flow
- Tile
- ListView
- ListItem
- Signin
- UserPicker
- Breadcrumps
- Checkbox
- Dialog
- Disclosure (NEW)
- Error (NEW)
- Form (NEW)
- Globalmessage (NEW)
- Grid (NEW)
- Zip&Download (NEW)
- Integration Folder Browser
- Integration Target Picker
- Contexts
- Detached objects
- Permanent objects
- Temporary objects
- Page Context
- Browsing Context
- Perspective Context
- Portal Context
- Controls
- 6.15 Models and Factories
- NodeModel
- Other Models
- Factories
- Fetchable Factory
- Configurable Factory
A new Chapter 12 discusses the strategys needed to “widgedize” an existing legacy g module and to add things to an existing widget
The strange word “to widgedize” stands for “Build a widget for a legacy module not already supporting widgets”. The Strategies on amending a Module by adding a widget and on adding additional functionality inside an existing widget are discussed.
Content:
- Moving from a legacy gui module to a smartUI module
- Examine a legacy module and rebuild a smartUI widget (here only on the client side)
- As an example, the barcode widget
- Add a functionality in an existing widget
- Add an email functionality in the Connected Workspaces Team Widget.
- Usable from inside the Widget
- As an example the new team widget with email Support
New in the advanced training
The advanced training will eventually grow more and more to cover the new widgets and controls coming in future releases.
Chapter 1: Extended SDK Parts
- Additional Widgets
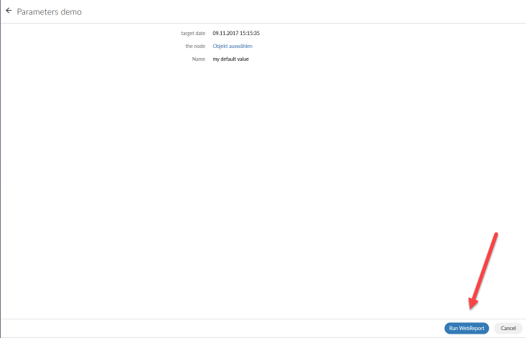
- Webreports
- NodesListReportView
- TilereportView
- FilteredCountChartView
- Carousel Widget View
- parameter.prompt.form (NEW)
- table.report (NEW)
- status.screen (NEW)
- open.webreport.js (action to show the Parameters form) (NEW)
- Webreports
- binf-Datepicker
- Using the build in datepicker
- binf-switch
- Using the binf-switch to turn checkboxes and radio buttons into switches
- Workflow
- Workflow Components
- Workflow in smartUI including Workflow Status (new in 16.2.4)
- Starting Workflows
- URL Routes
- Workitem Model
- Workitem Actions
- Workitem Extension
- Writing Workflow Extensions
- REST API Support for Workflows
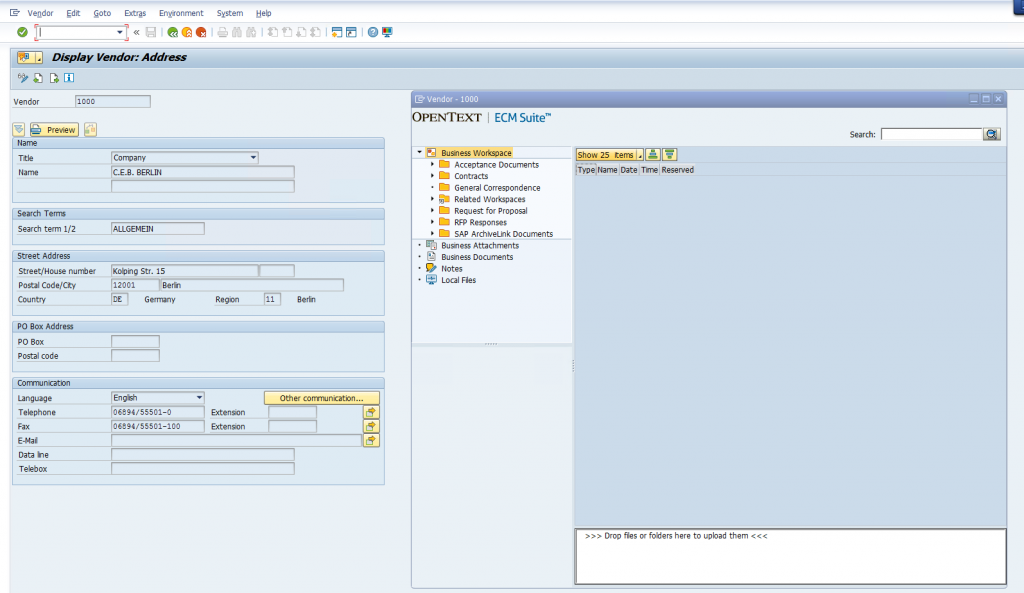
- Connected Workspaces
- Configurationvolume (NEW)
- Header (NEW)
- Extended ECM
- xECM: Office365 Groups (NEW)
- xECM: Header Widget with Business Object Infos (NEW)
- xECM: Snapshot of current document Attachments (NEW)
- xECM: Dossier View Widget (NEW)
- Event Action Center (NEW)
- Widgets not part of the SDK
- Mobile Scanning
- Discussion Widget
- Engineering Doc Management: Search
- MyShares
The chapter 3 has also been amended
- Tips and Tricks (Work in Progress- List can change)
- Add a OTDS Ticket already in the browser to the connection object
- Re-using a OTDS Ticket as LLCookie
- Checking the paths in the test/index.html
- Adding non CSUI supported jQuery functions in a view
- Add additional jQuery Libraries
- Adding Controls to a widget (NEW)
- CKEDITOR 4 (NEW)
- Intro (NEW)
- JQuery Non SDK example (NEW)
- Usage in the SDK (NEW)
- Handlebars advanced
- Handlebars QuickStart
- Expressions
- Helpers
- Helpers with html output
- Helpers with Hash Object
- The Helper fn property
- The helper inverse property
- Partials
- Helpers in the SDK
- 188 Handlebar Helpers
- LESS advanced
- LESS installation
- Using LESS variables
- Using Mixins in LESS
- Parametric Mixins
- Guarded Mixins
- Accessibility in Bootstrap. Screen reader support and what’s to change in the SDK to support screen readers for visual impaired users.
- What is Accessibility
- Kinds of Disabilities
- Accessibility and the law
- WAI-ARIA
- ASSETS.CMS.GOV
- PayPal Bootstrap Accessibility Plugin
- Web Experience Toolkit WET
- Other resources
- Best Practices in smartUI development
- Pre-Development Steps
- Preparation Steps
- Development Steps
- Integration Steps
- Documentation Steps
- Development Infrastructure for security aware Organizations (NEW)
- Recommendations what’s to do if the reloading of npm modules during the creation of a widget is not wanted (NEW)
The agendas are available as pdf here
- 1 day Agenda the very short training
- 2 day Agenda the training with more details and more exercises
- 5 day Agenda and advanced Training Agenda The complete training — recommended