
Wondered, how expandable Tiles work in smartUI?
The base Widget is a simple Tile:
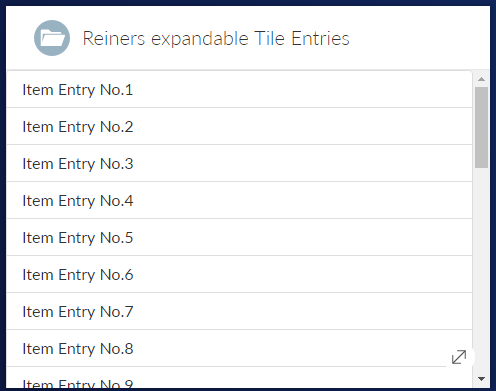
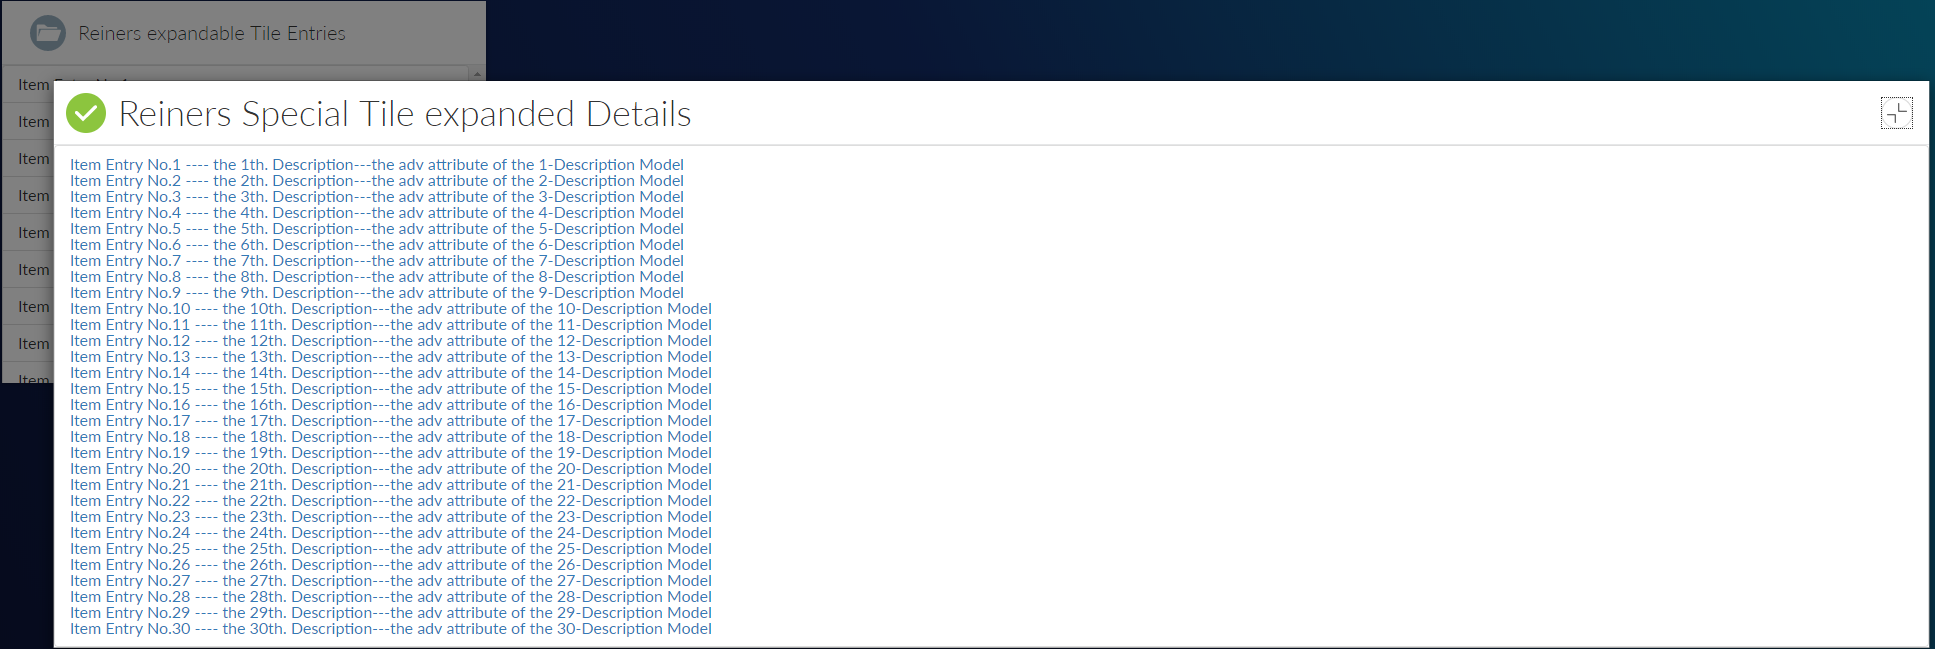
Pressing the Expand Button (lower right) shows a different view with more details as a list:
Implementation:
For simplicity sake, all require.js setups are omitted. The complete javascript would run on a simple html page without connecting to Server.
First, we need a collection and a model. The model does have 3 attributes, name, desc, adv. 30 Models are filled automatically in the collection.
     var  ItemModel = Backbone.Model.extend({
              defaults: {
                  id: null,
                  name: 'Unnamed',
                  desc: 'Unnamed',
                  adv: 'Unnamed'
              }
          }),

      ItemCollection = Backbone.Collection.extend({
              model: ItemModel,
              initialize: function (models, options) {
                  this._items = _.times(30, function (index) {
                          ++index;
                          return {
                              id: index,
                              name: 'Item Entry No.' + index,
                              desc: 'the ' + index + 'th. Description',
                              adv: 'the adv attribute of the ' + index + '-Description Model'
                          };
                      });
                  this.makeFetchable(options)
                  .makeClientSideBrowsable(options);
              },
              sync: function (method, collection, options) {
                  if (method !== 'read') {
                      throw new Error('Only fetching the collection is supported.');
                  }
                  console.log('Getting', collection._items.length, 'items');
                  var deferred = $.Deferred();
                  setTimeout(function () {
                      var response = _.clone(collection._items);
                      if (!options) {
                          options = {};
                      }
                      if (options.success) {
                          options.success(response, options);
                      }
                      collection.trigger('sync', collection, response, options);
                      deferred.resolve(response);
                  }, 250);
                  return deferred.promise();
              }
          }),
Second, we need two views, a base view and an expanded view.
The base view with its template is:
      ListItemView = Marionette.ItemView.extend({
              className: 'binf-list-group-item',
              template: Handlebars.compile($('#list-item-template').html())
          }),
script id="list-item-template" type="text/x-handlebars-template"
  {{name}}
/script
<> around the script tags are omitted
The extended view with its template is
ListFieldItemView = Marionette.ItemView.extend({

                  className: 'binf-list-group-item',

                  template: Handlebars.compile($('#list-item-template1').html()),

                  initialize: function () {

                      this.listenTo(this.collection, 'sync', this.render);

                      this.collection.fetch();

                  },

                  serializeData: function () {

                      if (!this.model && !this.collection) {

                          return {};

                      }
                   var args = [this.model || this.collection];
                  if (arguments.length) {
                      args.push.apply(args, arguments);
                  }

                  if (this.model) {
                      return this.serializeModel.apply(this, args);
                  } else {
                      return {
                          items: this.serializeCollection.apply(this, args)
                      };
                  }
              },
          }),
script id="list-item-template1" type="text/x-handlebars-template"
   {{#each items}}
      p class="items"a href=#{{name}}  ----     {{desc}}---{{adv}}/a/p
  {{/each}}
/script
<> brackets around the html and script tags are omitted
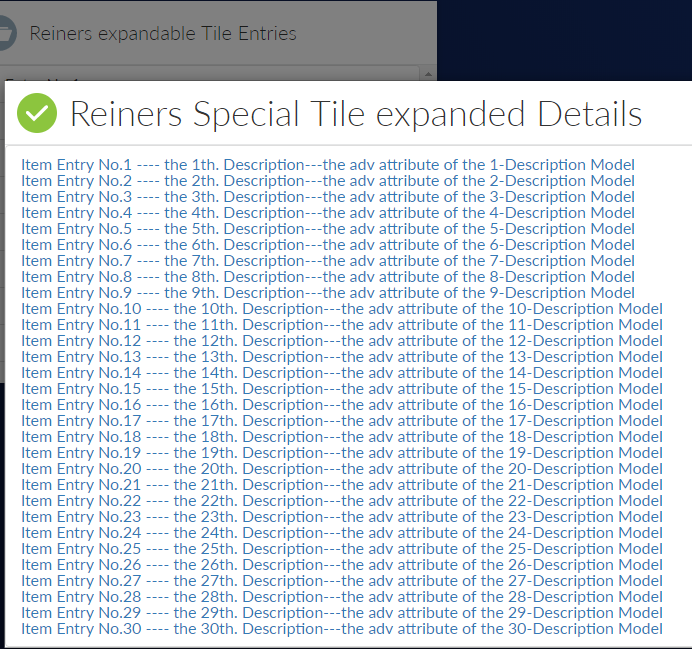
The serialize function is used to make the collection renderable with handlebars.js. This and item-template1 will render to this expanded view:
We also need one base view, referencing our two views, one as contentview and one as expandedView. We add the Behavior Expanding with the options with our collection set. And of course, with several title and icon options set.
     ListTileView = TileView.extend({
              icon: 'header-openfolder',
              title: 'Reiners expandable Tile Entries',
              contentView: ListView,
              contentViewOptions: function () {
                  return {
                      collection: this.items
                  };
              },
              childEvents: {
                  'click .items': 'onClickItem'
              },
              onClickItem: function (target) {
                  this.trigger('click:item');
                  this.triggerMethod('execute:defaultAction', target.model);
                  alert("Clicked on item '" + target.model.attributes.name + "'");
              },
              behaviors: {

                  Expanding: {
                      behaviorClass: ExpandingBehavior,
                      expandedView: ListFieldItemView,
                      expandedViewOptions: function () {
                          return {
                              collection: this.contentView.collection
                          };
                      },
                      titleBarIcon: 'title-assignments',
                      dialogTitle: 'Reiners Special Tile expanded Details',
                      expandIconTitle: 'Reiners Expand Button',
                      dialogTitleIconRight: "icon-tileCollapse"
                  }
              },
              constructor: function (options) {
                  ListTileView.__super__.constructor.apply(this, arguments);
                  this.items = new ItemCollection(undefined, {
                          top: 30
                      });
                     // options.items = this.items;
              },
              onShow: function () {
                  this.items.fetch();
              }
          });
Initialize it and show it at the el #tile. Then you are done
      var
      // Create instances of the views to show on the page
      tileView = new ListTileView(),

      // Create helpers to show the views on the page

      tileRegion = new Marionette.Region({
              el: "#tile"
          });

      tileRegion.show(tileView);
Easy, isn’t it?
The complete html file containing the javascript demo code can be downloaded here