New RulesMatchingMixin in smartUI

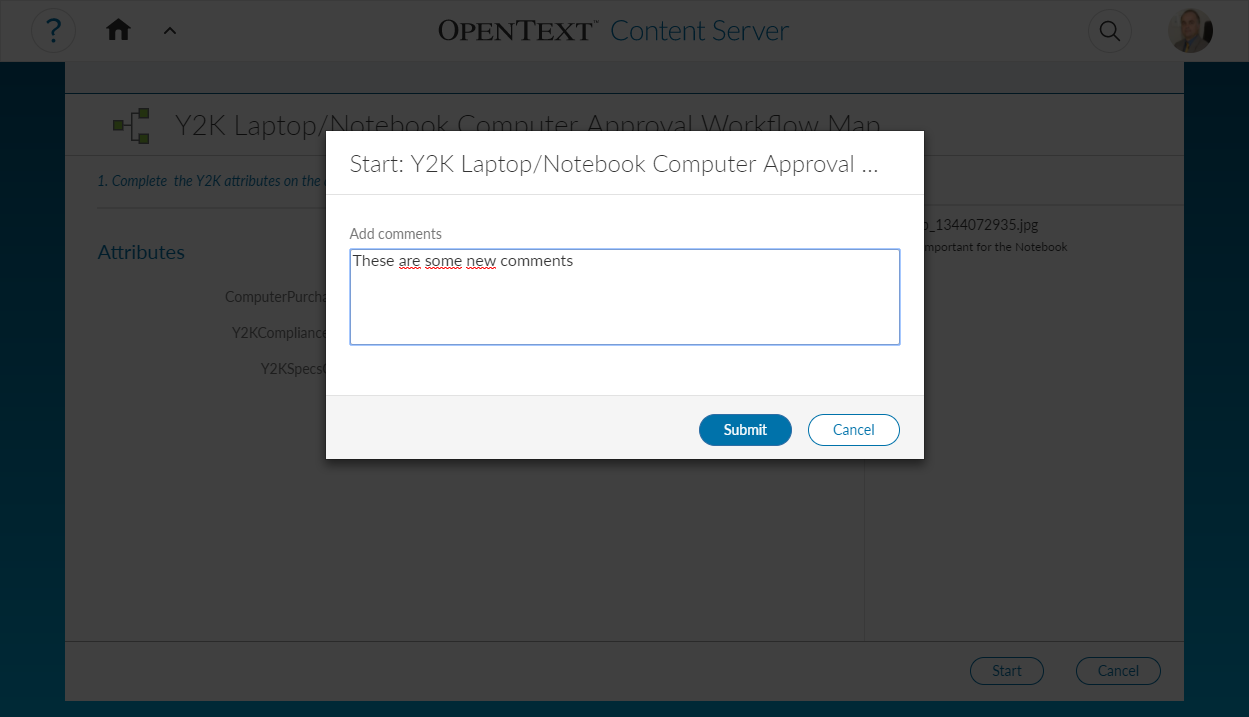
Have you seen the new Rules matching Mixin in the smartUI? Its a great mixin, allowing you to implement a colloection of rule models which are supposed one model, which rules match the input object. This is a quite powerful functionality

The following example implements the selection collection

  • Container = true
  • Subtype = 144, 749
  • and is type = 144 is one of the mimetypes listed
  • and is type = 144 or mimetype startswith “image/” of equals “pdf/x-pdf”
  • and is type = 144 and mimetype = “text/plain”

If run, then the action of the appripriate node is returned. Only on the base of a rules Model!!

Can be implemented like this

  var NodeActionSelectingModel = Backbone.Model.extend({
  idAttribute: 'signature',
  defaults: {
    sequence: 100,
    signature: null
  },
  constructor: function NodeActionSelectingModel(attributes, options) {
    Backbone.Model.prototype.constructor.apply(this, arguments);
    this.makeRulesMatching(options);
  },
  enabled: function (node) {
    return this.matchRules(node, this.attributes);
  }
});

RulesMatchingMixin.mixin(NodeActionSelectingModel.prototype);
var NodeActionSelectingCollection = Backbone.Collection.extend({
  model: NodeActionSelectingModel,
  comparator: 'sequence',
  constructor: function NodeActionSelectingCollection(models, options) {
    Backbone.Collection.prototype.constructor.apply(this, arguments);
  },
  findByNode: function (node) {
    return this.find(function (model) {
      return model.enabled(node);
    });
  }
});
var nodeActions = new NodeActionSelectingCollection([
  {
    equals: {
      container: true
    },
    signature: 'Browse'
  },
  {
    equals: {
      type: [144, 749]
    },
    signature: 'Open'
  },
  {
    and: [
      equals: {
        type: 144
      },
containsNoCase: {
        mime_type: [
          "application/msword",
          "application/vnd.ms-word",
          "application/vnd.msword",
          "application/vnd.openxmlformats-officedocument.wordprocessingml.document",
          "application/vnd.wordprocessing-openxml",
          "application/vnd.ces-quickword",
          "application/vnd.ms-word.document.macroEnabled.12",
          "application/vnd.ms-word.document.12",
          "application/mspowerpoint",
          "application/vnd.ms-powerpoint",
          "application/vnd.openxmlformats-officedocument.presentationml.presentation",
          "application/vnd.ces-quickpoint",
          "application/vnd.presentation-openxml",
          "application/vnd.presentation-openxmlm",
          "application/vnd.ms-powerpoint.presentation.macroEnabled.12",
          "application/msexcel",
          "application/vnd.ms-excel",
          "application/vnd.openxmlformats-officedocument.spreadsheetml.sheet",
          "application/vnd.ces-quicksheet",
          "application/vnd.spreadsheet-openxml",
          "application/vnd.ms-excel.sheet.macroEnabled.12",
        ]
      }
    },
    signature: 'Edit',
    sequence: 50
  },
{
    and: {
      equals: {
        type: 144
      },
      or: {
        startsWithNoCase: {
          mime_type: 'image/'
        },
        equalsNoCase: {
          mime_type: ['application/pdf', 'application/x-pdf']
        }       }     },
    signature: 'Convert',
    sequence: 50
  },
  {
    and: [
      {
        equals: {
          type: 144
        }
      },
      {
        equalsNoCase: {
          mime_type: 'text/plain'
        }      }    ],
    signature: 'Read',
    sequence: 50
  },
  {
    signature: 'Properties',
    sequence: 200
  }
]);
var node = new NodeModel(...),
    action = nodeActions.findByNode(node);

New in 16.2 Workflows in SmartGUI

A new feature in the content server version 16.2 is the usage of smartGUI in workflows. This gives a standard workflow user a great new experience in using this workflow.

Lets see, how:

Setup

But first, you have to setup an few things.

This is our workflow map which we use in this example:

Example Workflow Map
Example Workflow Map: Computer Approval

In the Classic UI edit the workflow map.

Goto to the Initiator. Mark „Initiate in Smart View“ . Add to Workflow Definition and save the map

Workflow Start Step
Initiator

(optional)

goto the Tab „Smart View“ and add a form. Forms can be added to all steps, if they are enabled for display in Smart View.

This is an example of the last step on „How to enable a step for SmartUI“:

Enable a Step in SmartGUI
Enable a Step in smartGUI

Save the map and exit.

Now its time to see our workflow in the smartGUI.

Usage

Switch to the smartGUI and instantiate the workflow from the map.

Instantiate a Workflow

Then the Workflow Widget appears. At this stage, you can set all attributes as usual, you can add files at to the workflow by dragging and dropping these to the right side of the widget

Workflow Widget
Workflow Widget

Add some comments

Comments on the Workflow

Click submit and login with the userid of the first step assignee.

Open Workflow
An open workflow in a landing page

Here, you see your open workflow step in the “My Assignments” widget. Clicking on the entry opens the Approval widget

Approval in the workflow

By clicking on the attachment at the right side, the attachment can be opened, downloaded or the properties can be checked.

Attachment
Attachment

The properties look like

Attachment Properties Window

Now after the examination, you can click on “Approve” and add a comment.

Then the Workflow Step is approved. The entry in MyAssignments is removed. The workflow is on the next step.


Easy, ist’t it?

A new SDK in Town: Content Server SmartUI SDK – First glimpse

Did you ever wonder, how to create new widgets or forms for the new SmartUI of the content server? The new SmartUI is responsive and can be used on mobile devices.

smartui

If you want to add new widgets or modify things, there is a new SDK on the knowledge center, which can be found here:

This are the components:

  • CSUI SDK Intro.pptx
    this is a powerpoint presentation on the SDK.
  • csui-doc-16.0.3.zip (1.7MB)
    this is the documentation as stand alone.
  • csui-sdk-16.0.3.zip (53.5 MB)
    this is the sdk itself. It contains a copy of the documentation.
  • csui-style-override-kit-16.0.3.zip (122 kb)
    this is a kit to provide branded css files, which will be used instead of the original ones.
  • generator-csui-extension-16.0.3.zip(51.9 MB)
    this is a generator, which will be used to setup an empty development project.


The basic requirement is the installation of node.js at your CSIDE machine.  You should be familiar with the REST API and Grunt to use the SDK.

The workflow is

  1. Generate an empty project on the harddisc
  2. Install all prerequisites in node.js (npm, grunt-cli)
  3. Modify the example according to your needs
  4. Import the module in out-module of your project into CSIDE
  5. Copy the widgets etc into your support folder
  6. Create the module in CSIDE and install it

The installed new Widget

Then you should see the example widget under the name of your module in the perspective manager.

Watch for upcoming posts on this exciting new Content Server technology.