
A new feature in the content server version 16.2 is the usage of smartGUI in workflows. This gives a standard workflow user a great new experience in using this workflow.
Lets see, how:
Setup
But first, you have to setup an few things.
This is our workflow map which we use in this example:
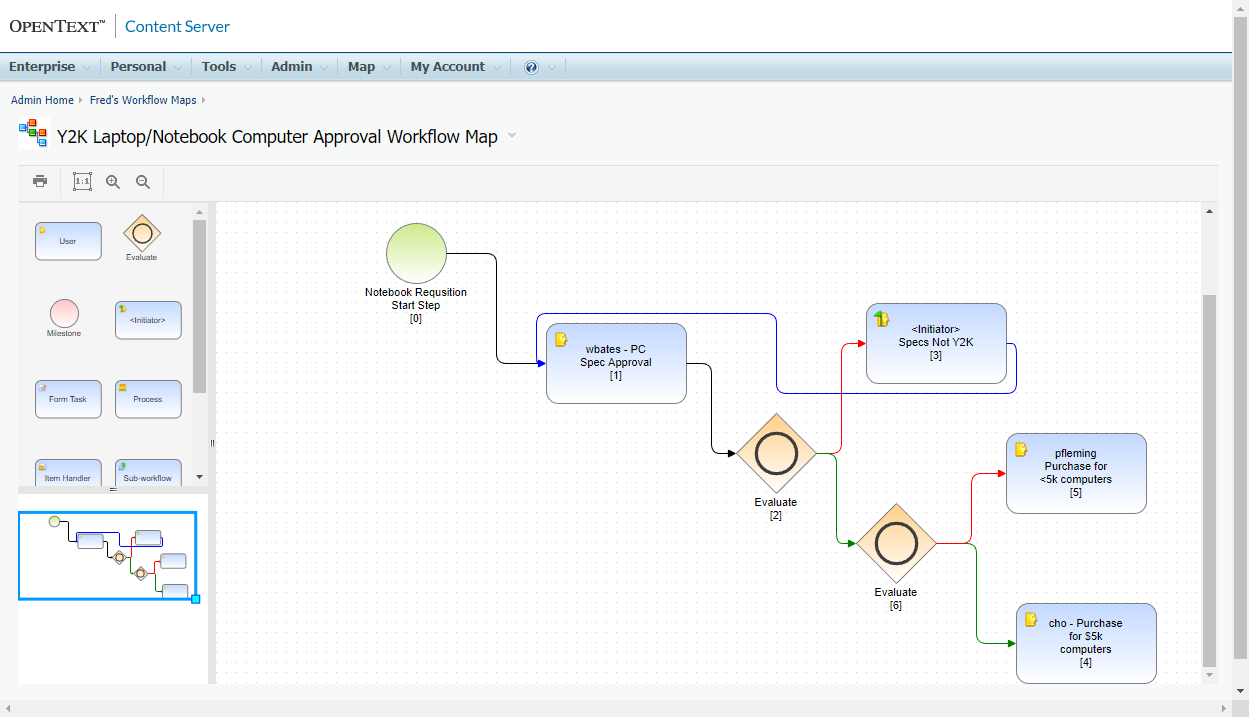
In the Classic UI edit the workflow map.
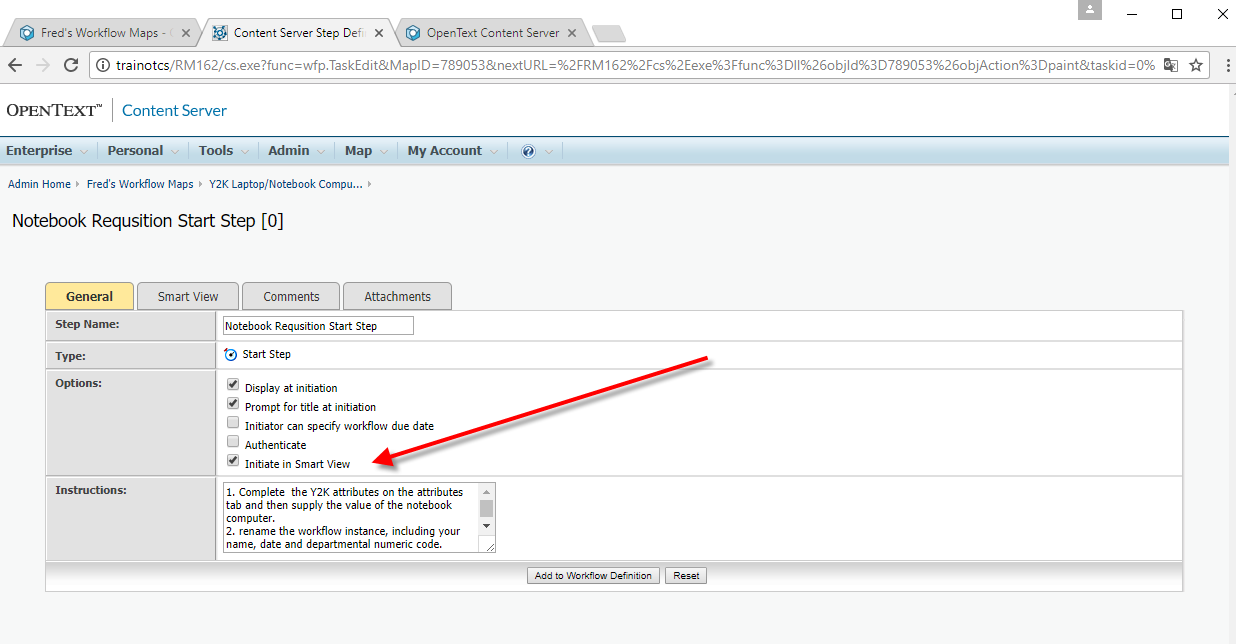
Goto to the Initiator. Mark „Initiate in Smart View“ . Add to Workflow Definition and save the map
(optional)
goto the Tab „Smart View“ and add a form. Forms can be added to all steps, if they are enabled for display in Smart View.

This is an example of the last step on „How to enable a step for SmartUI“:

Save the map and exit.
Now its time to see our workflow in the smartGUI.
Usage
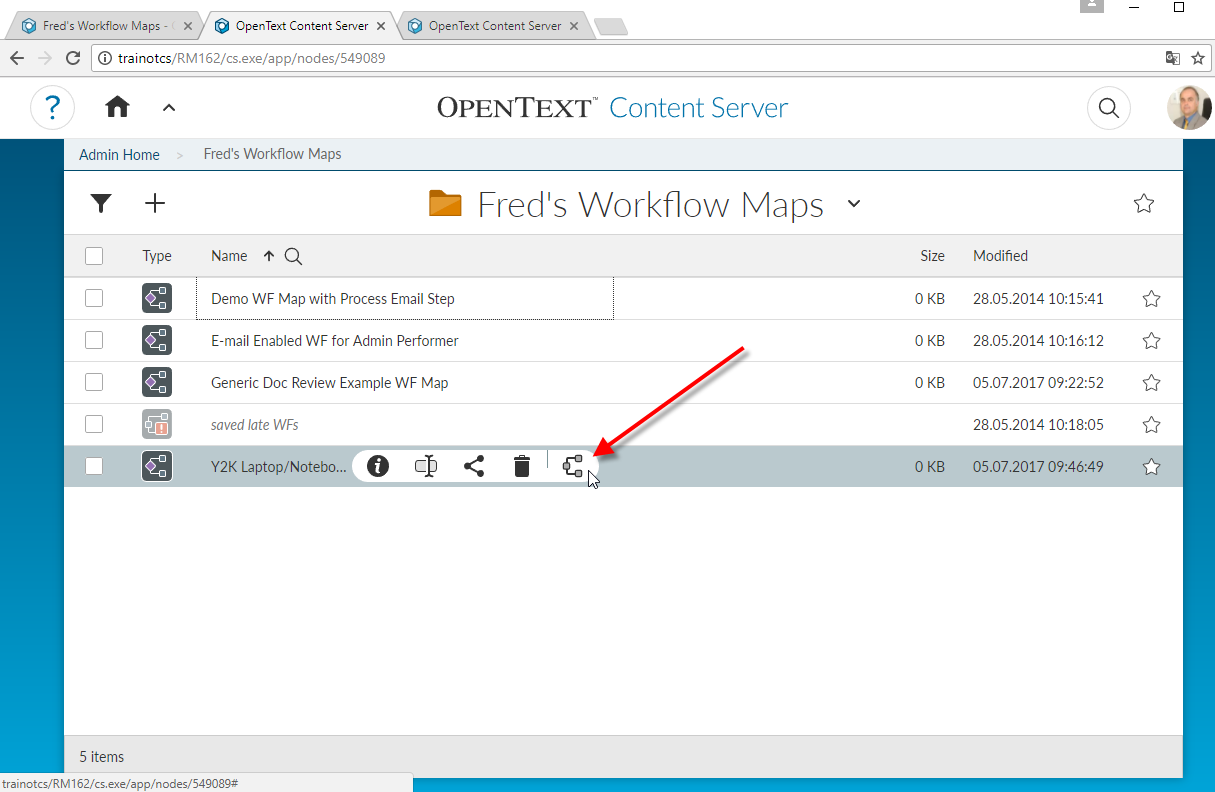
Switch to the smartGUI and instantiate the workflow from the map.
Then the Workflow Widget appears. At this stage, you can set all attributes as usual, you can add files at to the workflow by dragging and dropping these to the right side of the widget
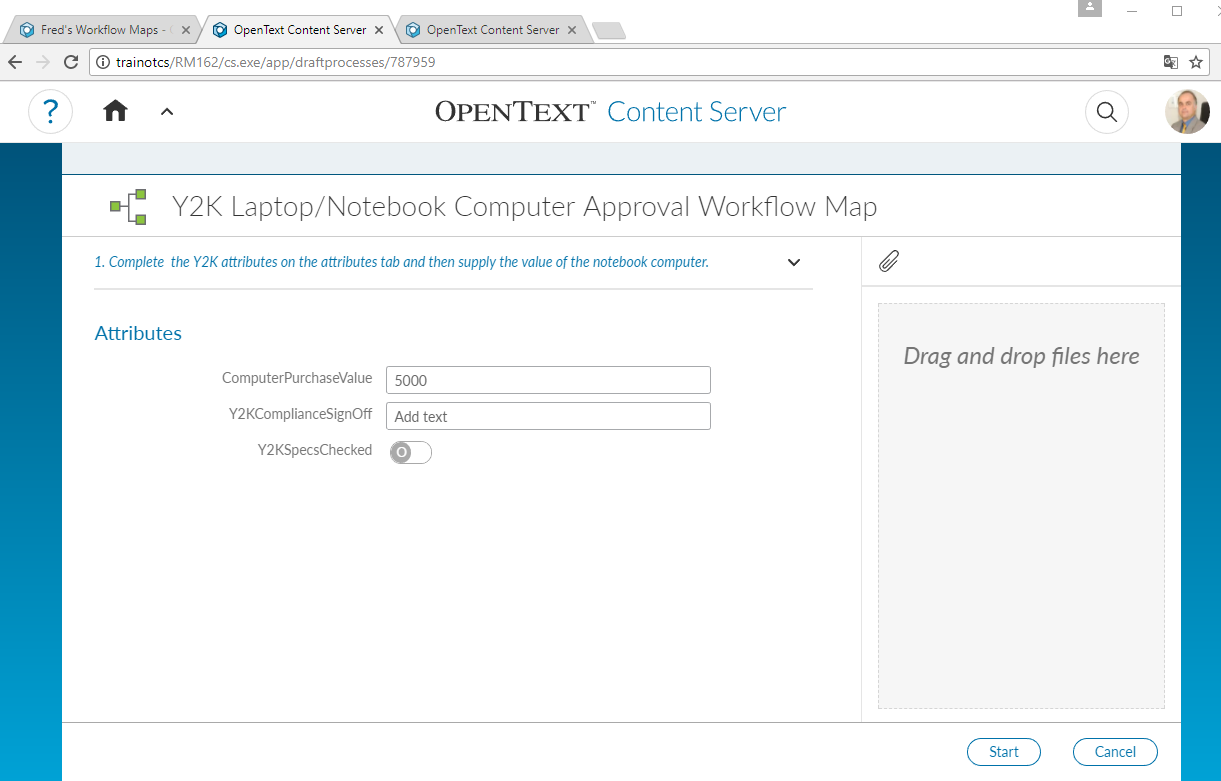
Add some comments
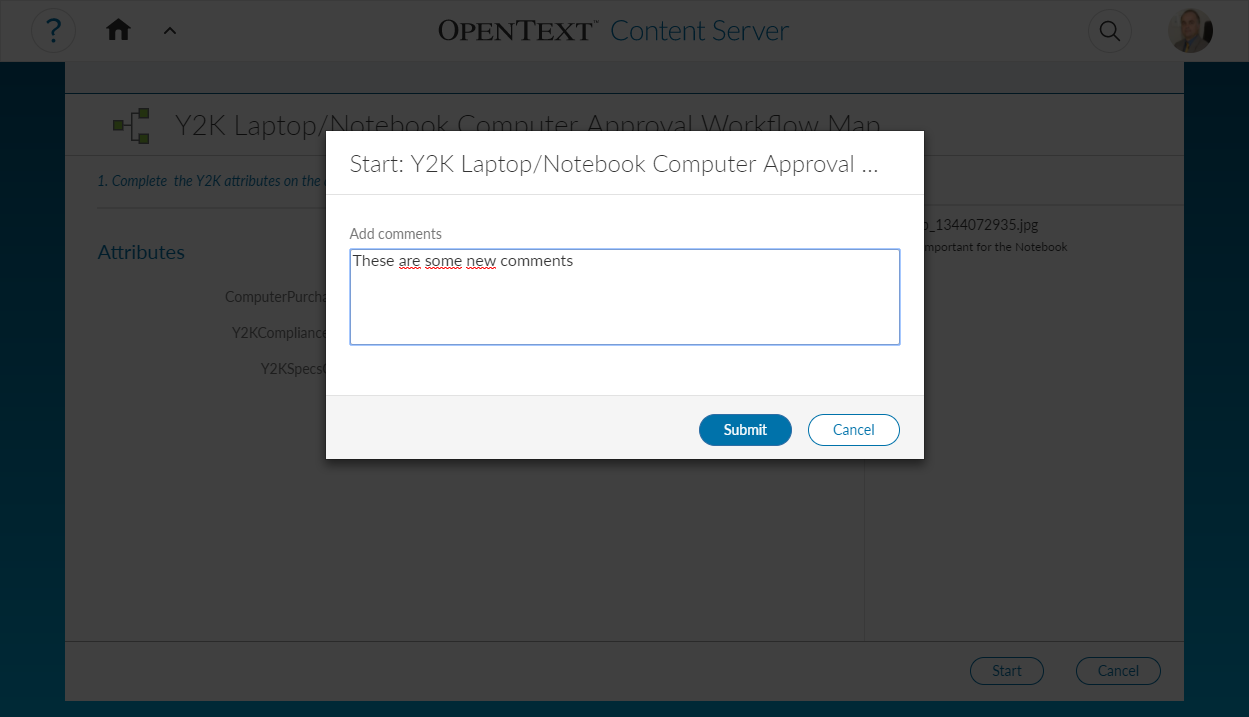
Click submit and login with the userid of the first step assignee.
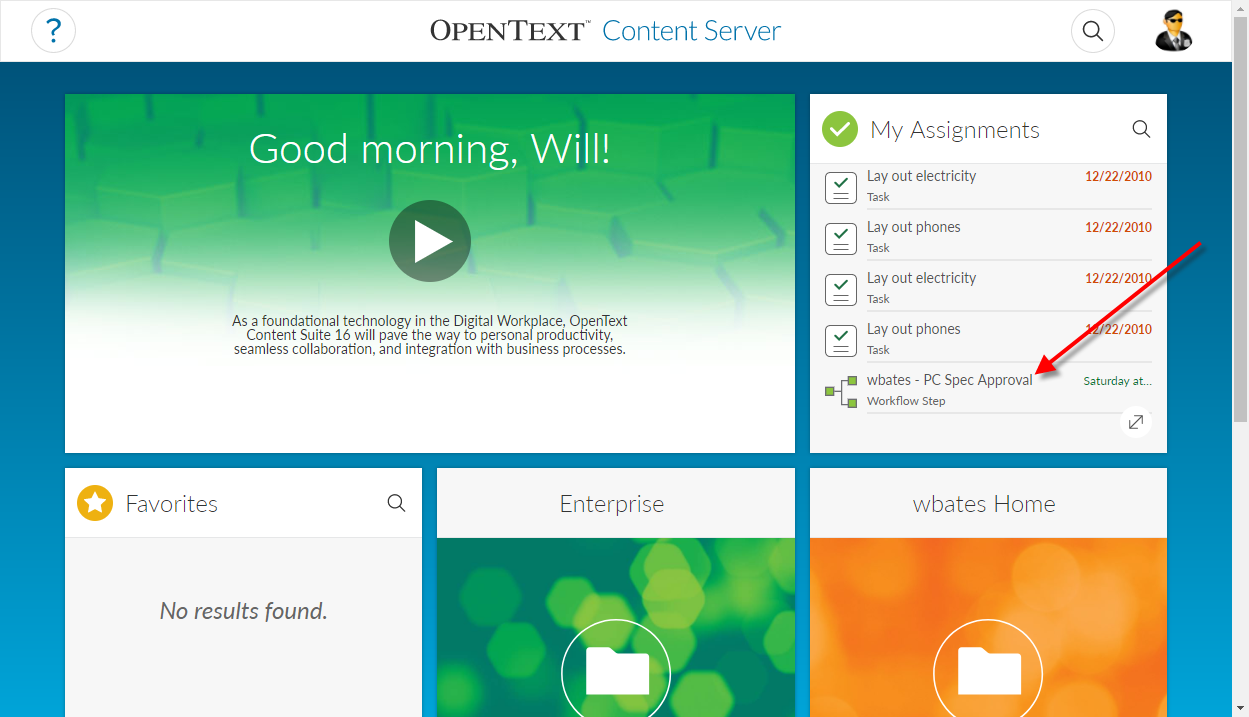
Here, you see your open workflow step in the “My Assignments” widget. Clicking on the entry opens the Approval widget
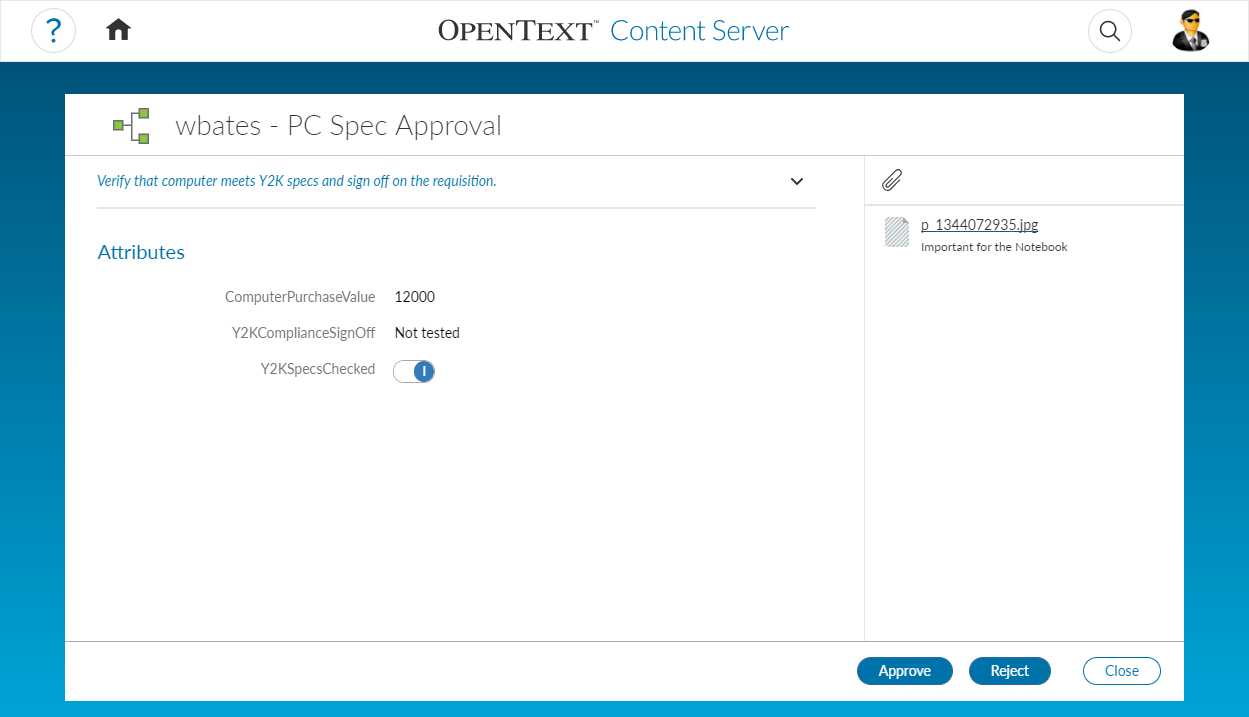
By clicking on the attachment at the right side, the attachment can be opened, downloaded or the properties can be checked.
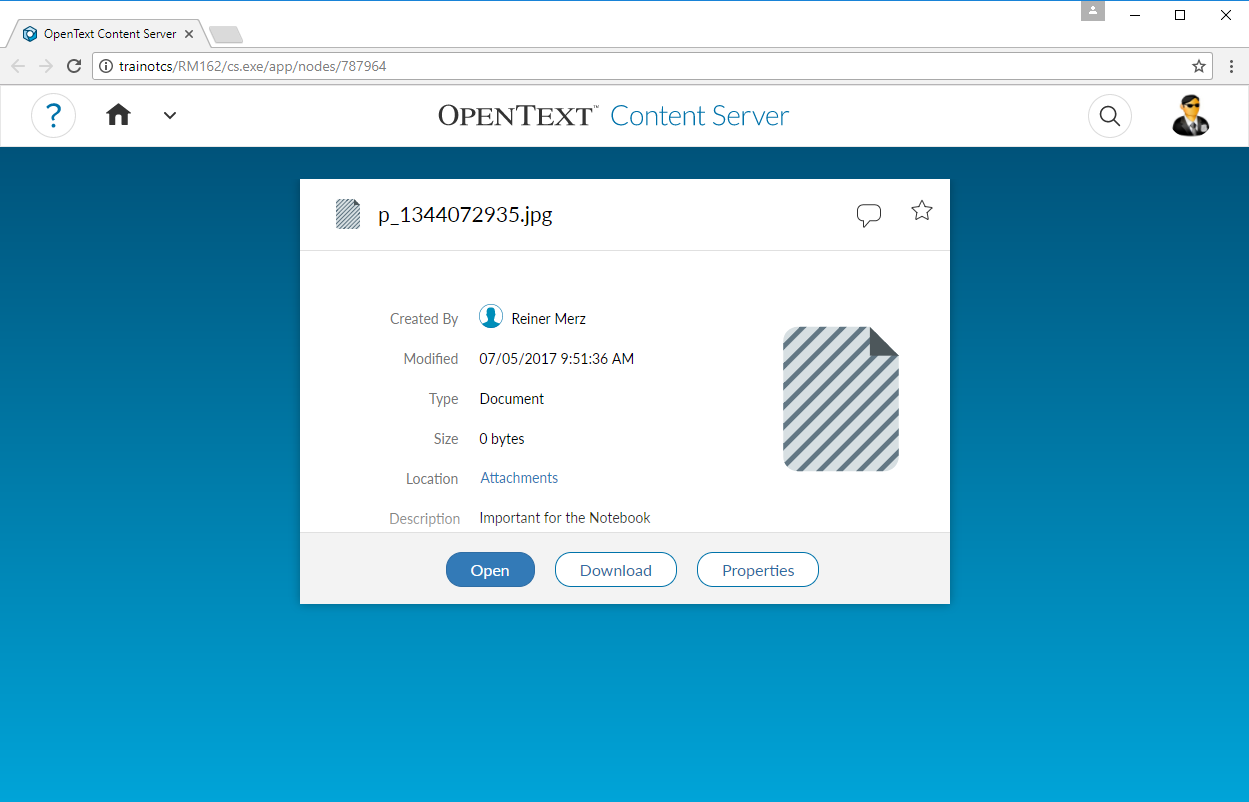
The properties look like
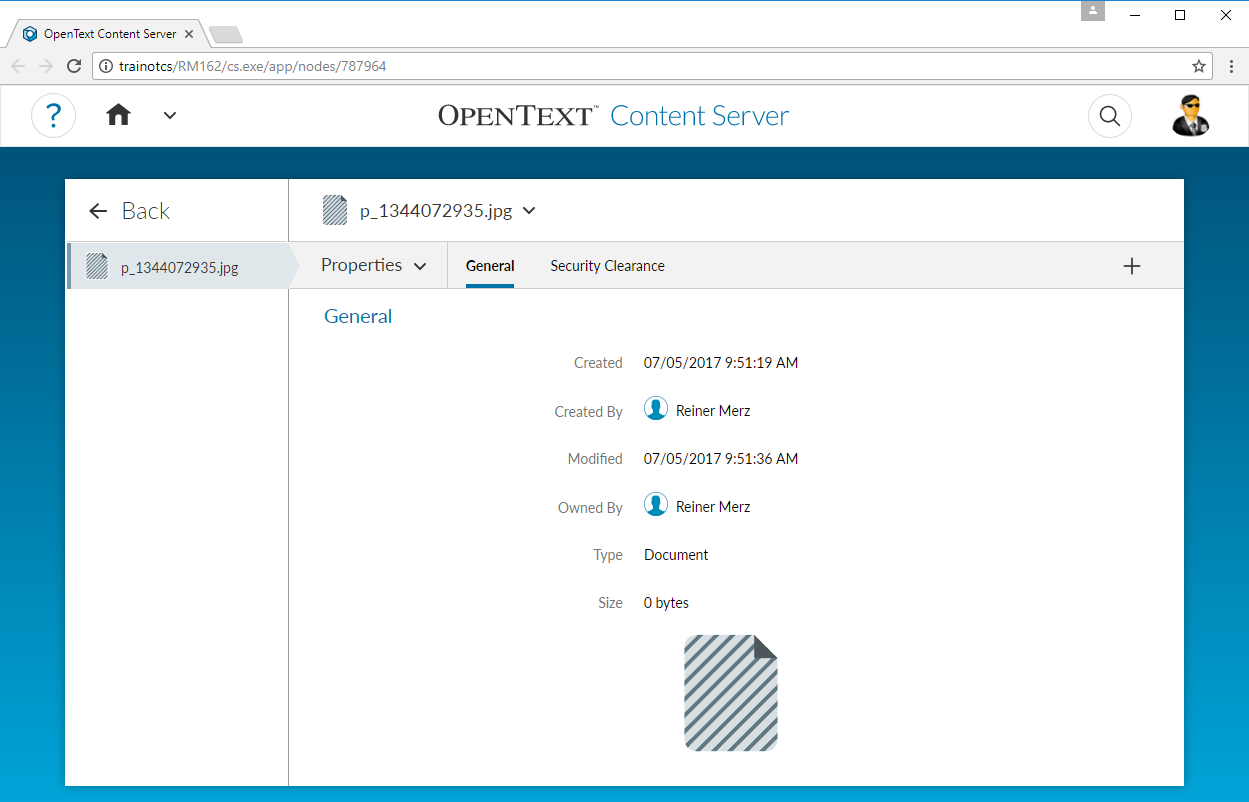
Now after the examination, you can click on “Approve” and add a comment.
Then the Workflow Step is approved. The entry in MyAssignments is removed. The workflow is on the next step.
Easy, ist’t it?