A short, but sometimes time consuming thing are the missing Webreport Tabs. Imagine, you have a Content Server with an jetty based internal Admin Server or an external Admin server on a fast machine.
The problem
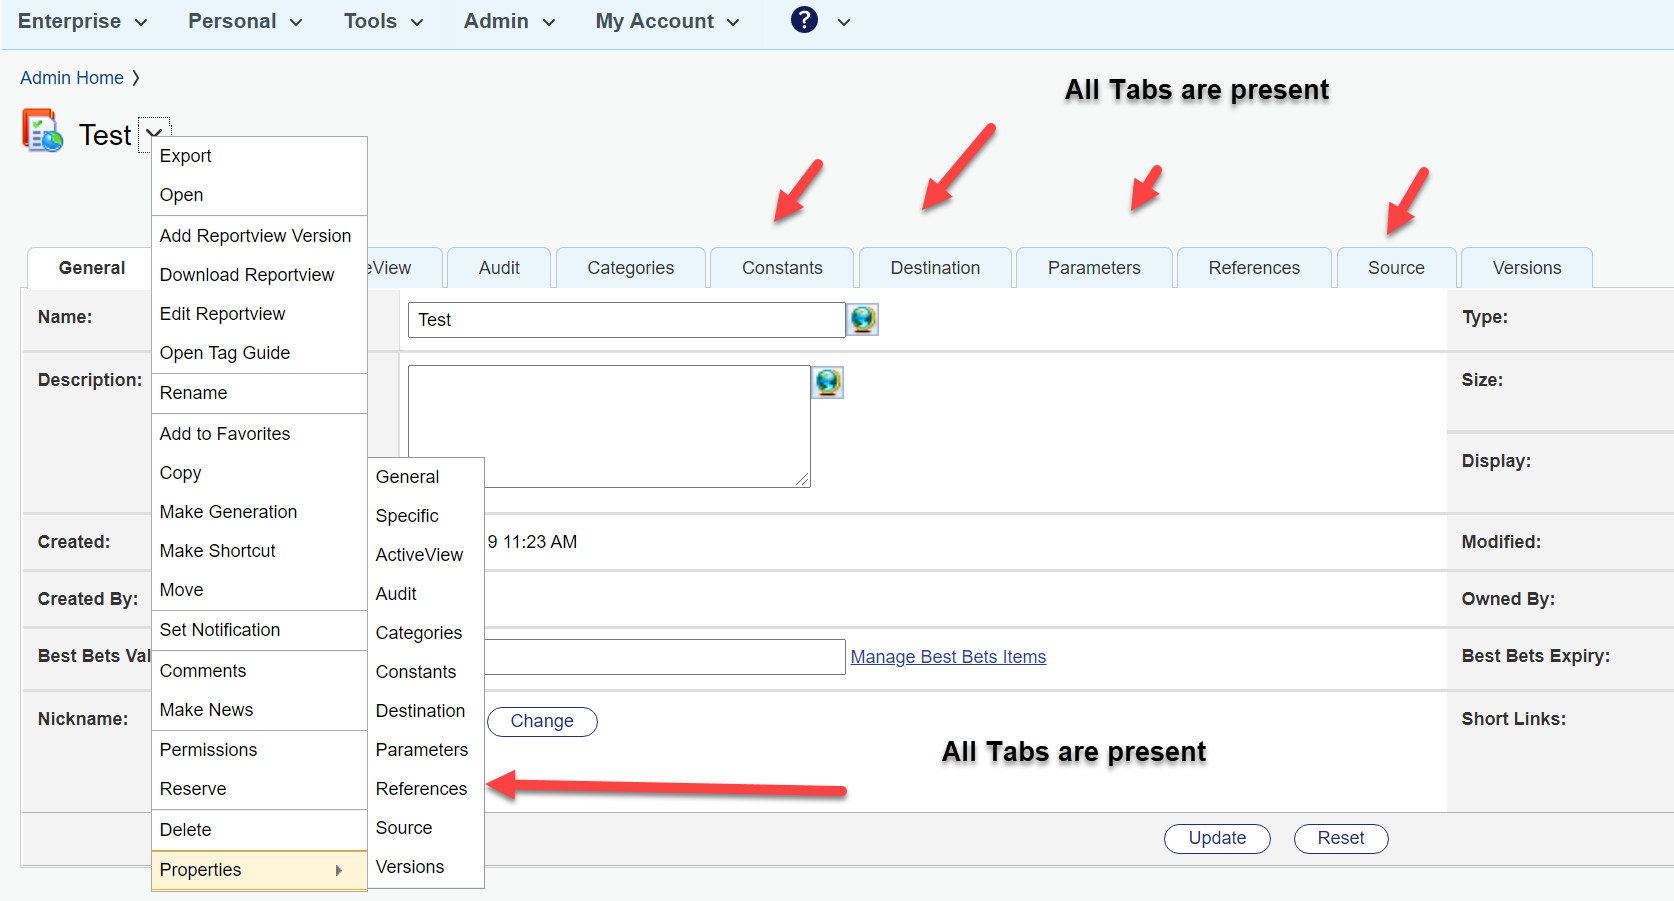
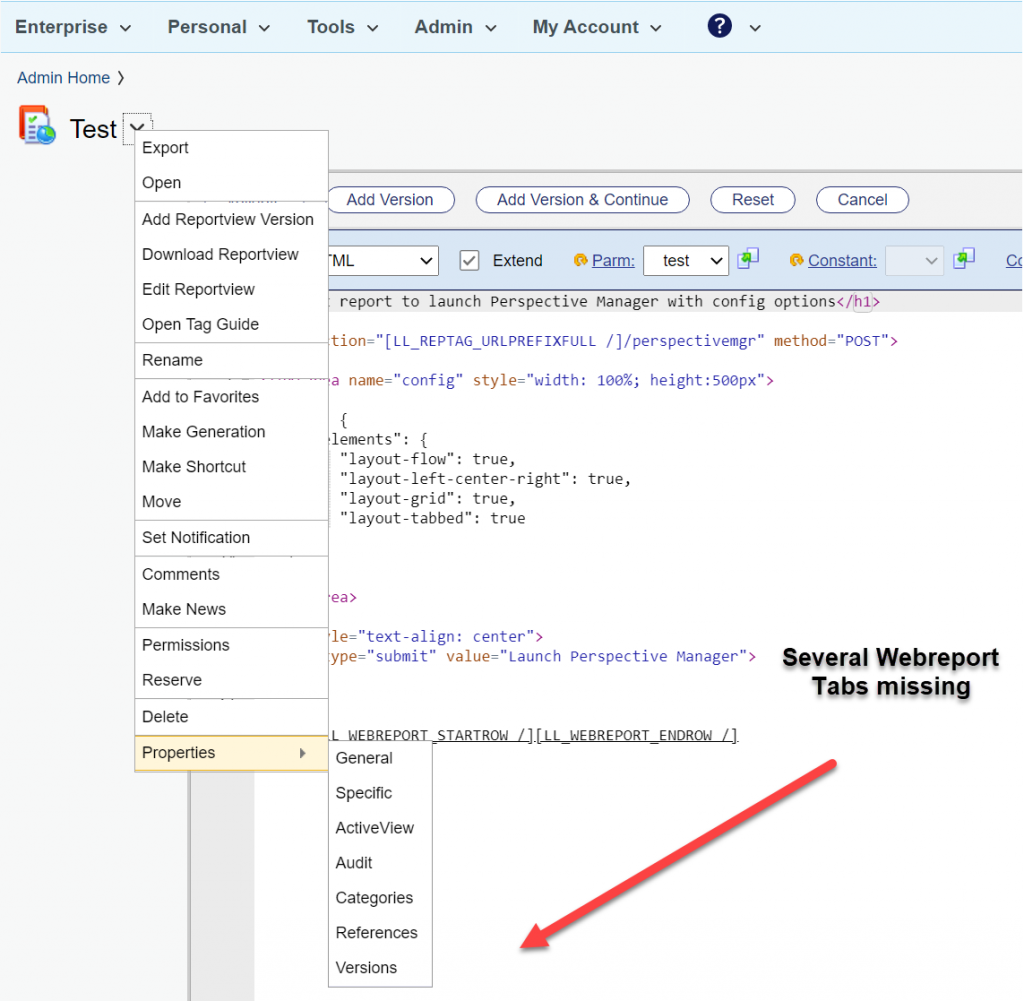
Then, from time to time, you will see this on editing a webreport:
All Edit Tabs for the webreport are missing. Although you can start the missing functions within the URL, its annoying.
The Cure
If this happens, use this Magic Trick N,12:
Simply stop Content Server and Admin Server. Start the Admin Server and wait at least 5 min before starting the Content Server.
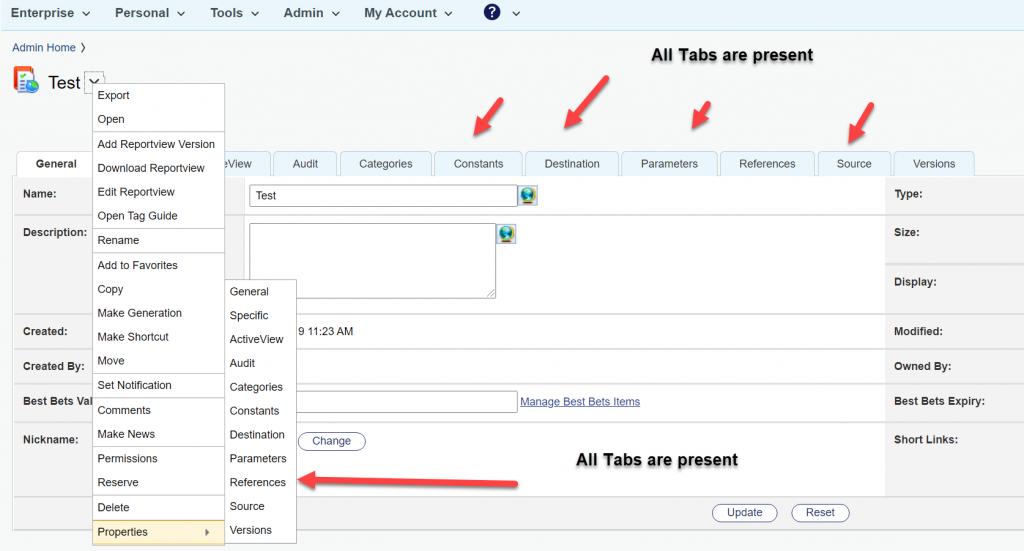
Then you’ll see everything is there.
Wow. You made it. You are a great wizard.
Seriously:
There is a timing problem in the Content/Admin Server. If the Content Server starts to fast, COntent Server thinks, there is no license for webreports at first. Later, it gets the license, but the GUI is drawn without the webreports tabs.
Wait for your Content Server to start up. Wait at least for 5 min. Then everything will be drawn in the GUI.
From time to time you’ll have to deal with distributed agents inside content server. This can be a little confusing, so maybe this post is helpful there
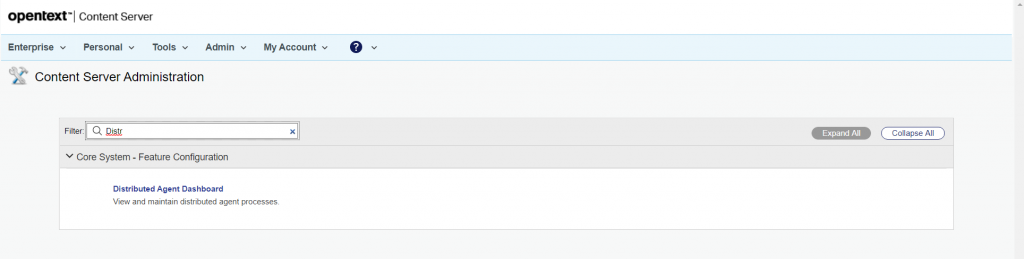
In the Admin Pages, you’ll find a dashboard to control the default setup. Either add a func=distributedAgent.AgentStatus to your servers URL or search inside the admin pages for distributed Agent things like this
Click on Distributed Agent Dashboard.
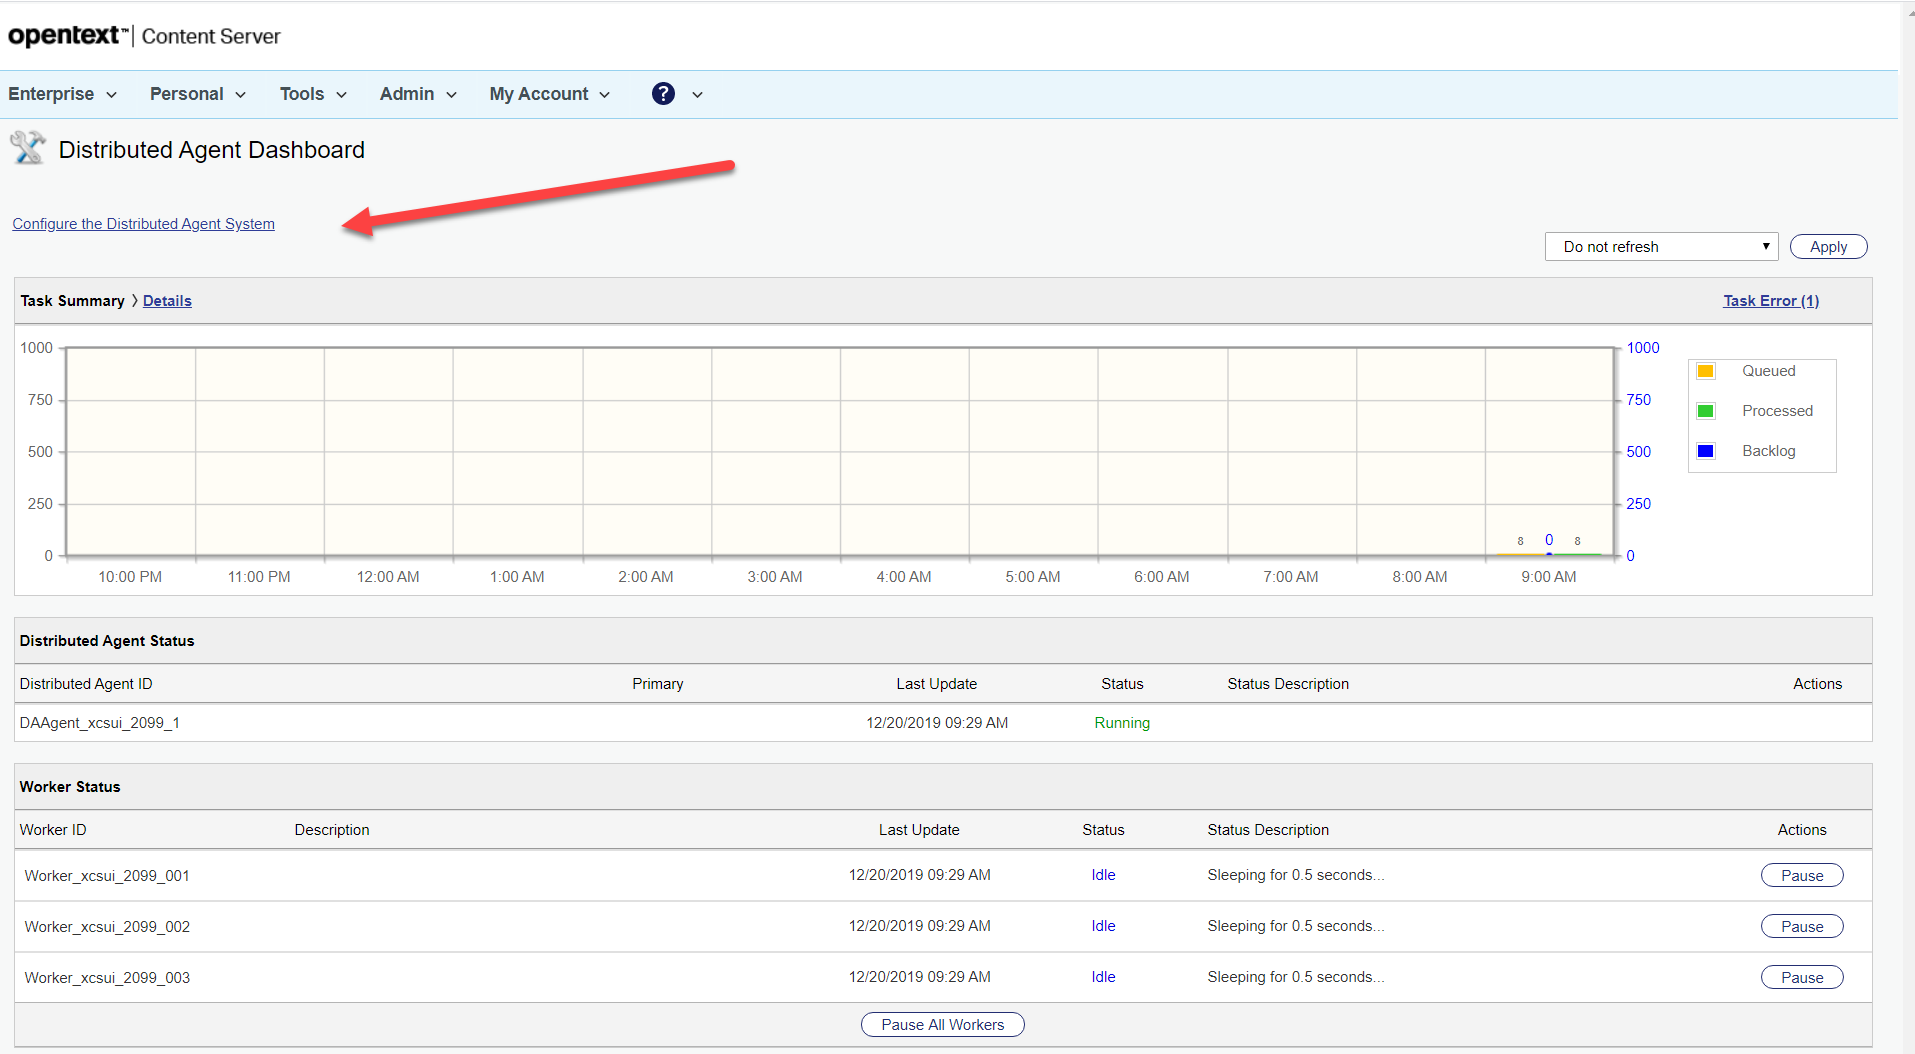
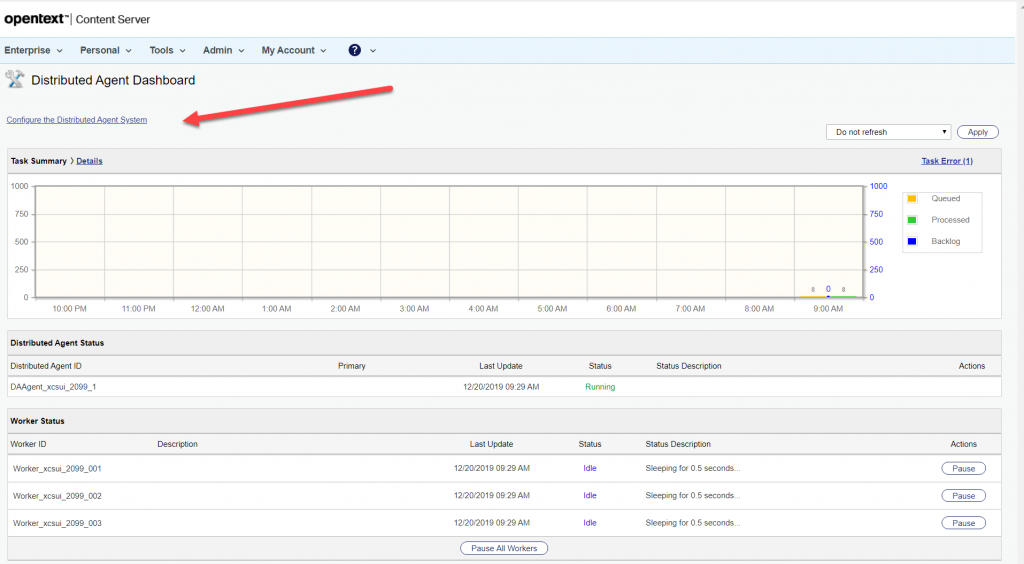
Then you’ll see the distributed Agent dasshboard
Here you’ll find all information about the current state of the system and the configuration of the distributed agent system
Per default a content server has one distributed agent with three workers. You can change the number of workers used by the agent by changing the number of workers in the opentext.ini file in the [distributedagent] section.
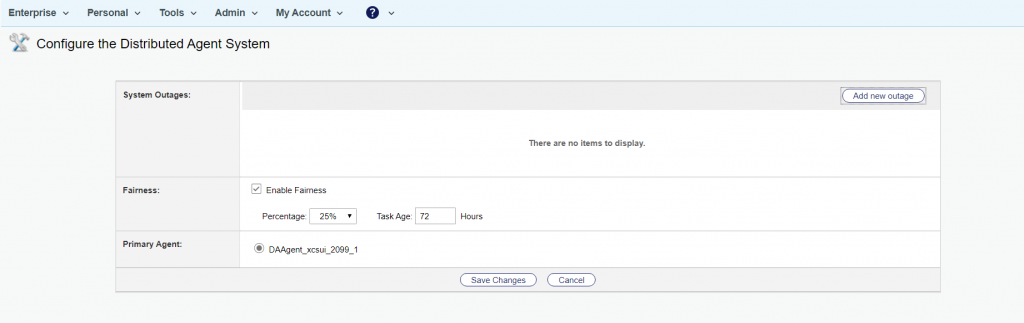
You can configure the whole distributed Agent system by clicking on the link indicated with the red arrow above. Then the configuration page opens:
Here you can set up values for the the treatment of low priority tasks (Enable Fairness). The agent can spent between 5% to 50% on low priority tasks, which will be processed aftera minimal age set by “Task Age”.
When you have more than 1 agent in the system, you can switch the priority Agent here also. OpenText recommends that you select the Distributed Agent with the greatest capacity to be your Primary Distributed Agent. Typically, the Distributed Agent with the greatest capacity resides on your most powerful or your least busy computer.
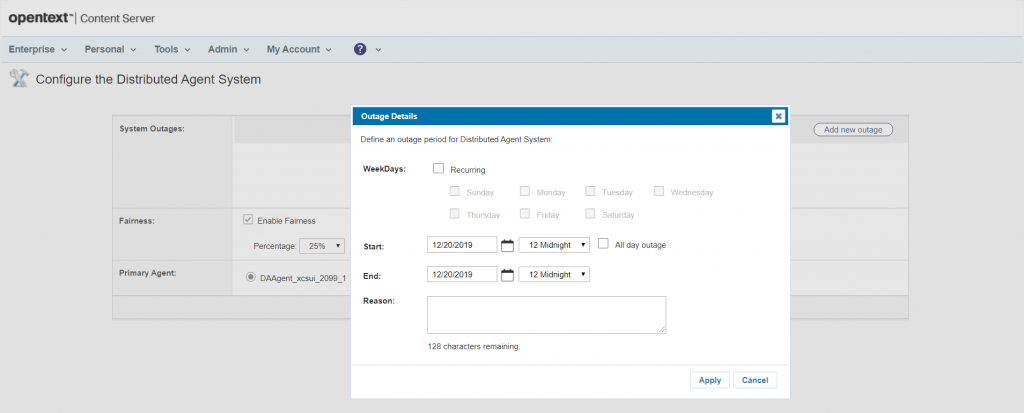
If you want a defined outage to be set, you can do this for the Agent by clicking on “Add new Outage” at the upper right. You can do the same for specific workers, we’ll discuss this later.
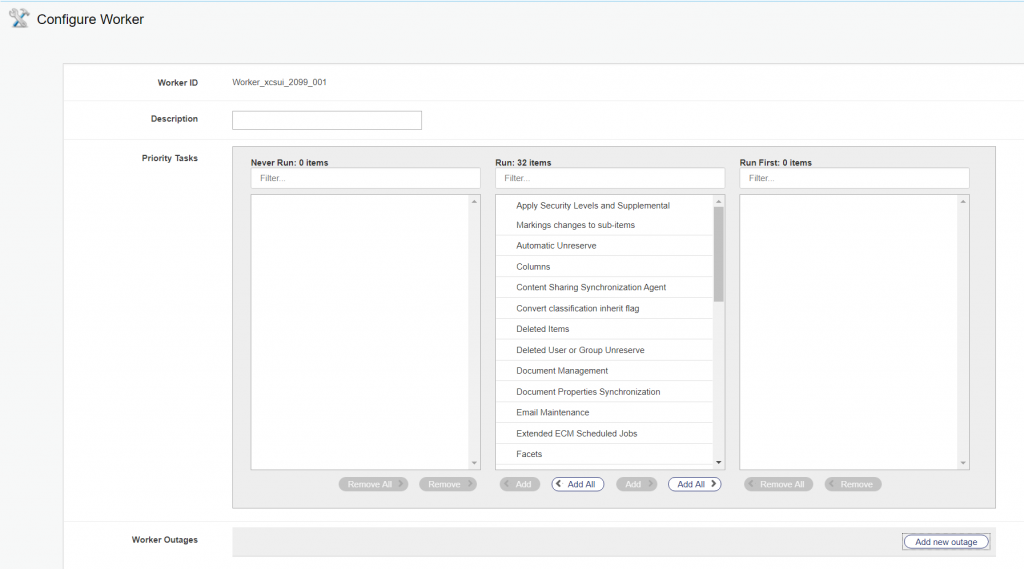
Back on the DashBoard, you cal also modify single workers. SImply click on the name of a worker, then the “Configure Worker” page opens
If you want to set a more specific name as that automatically generated, fill the Description field.
Much more important are the three columns “Never Run”, “Run” and “Run First”. The Run column contains all tasks this worker is supposed to do.
You can exclude tasks from this worker, then this worker will never execute this task. You can also prioritize a task, which means this worker will do this task at first.
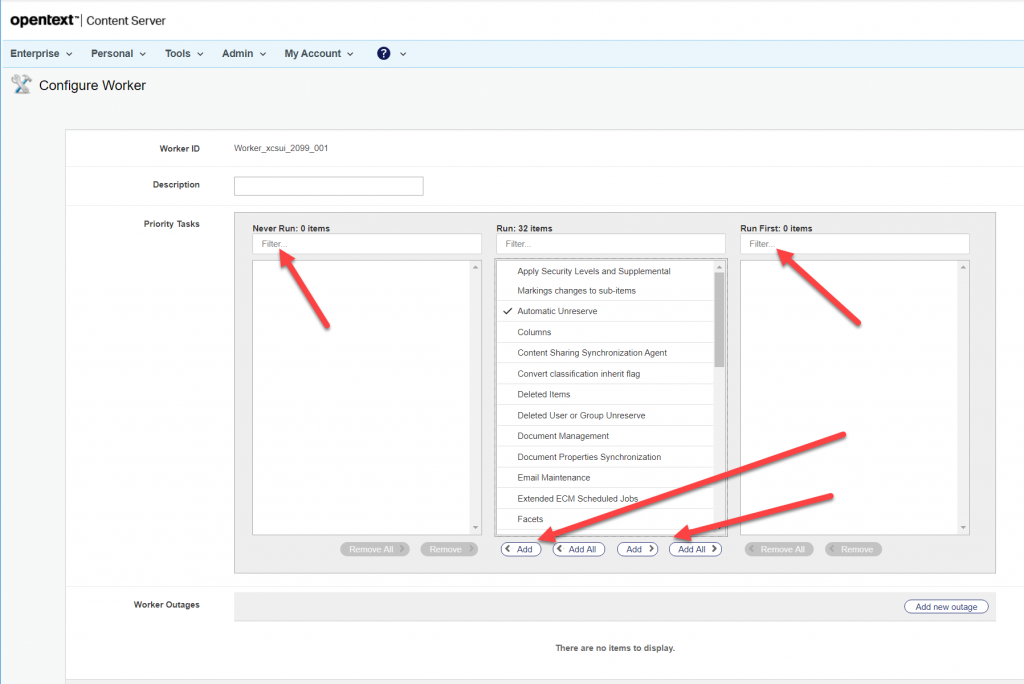
To configure this, select either all of the tasklist under “Run” or one or more tasks from the tasklist and move the entries either to “Never Run” on the left (worker will never execute the tasks) or to “Run First” on the right (worker will execute this tasks at first).
This allows you an effective task prioritizing for a single worker.
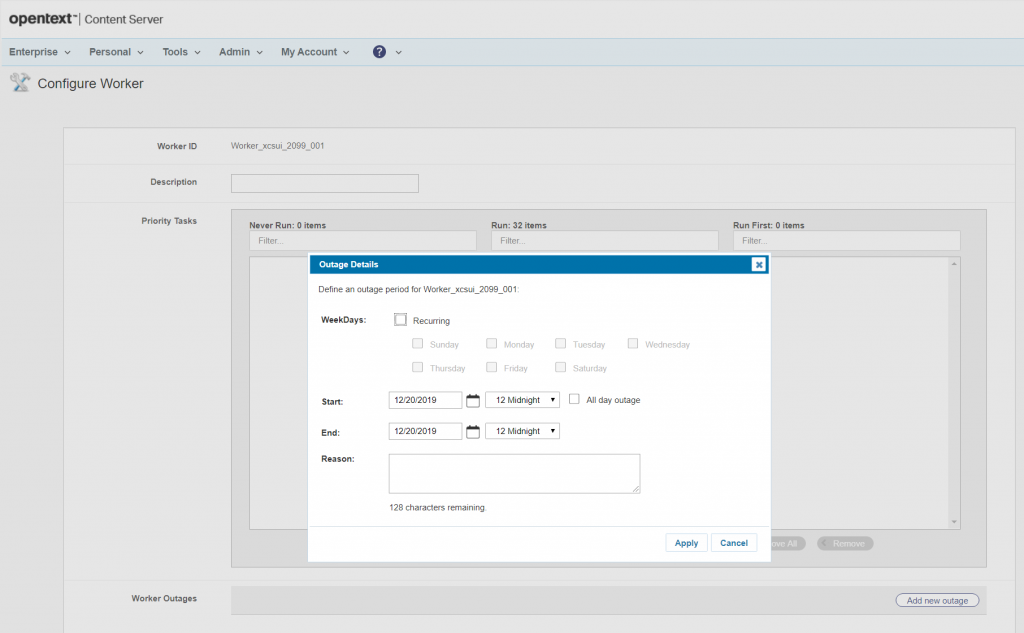
You can also define an outage for this worker by clicking on the Button “Add new Outage” on the lower right.
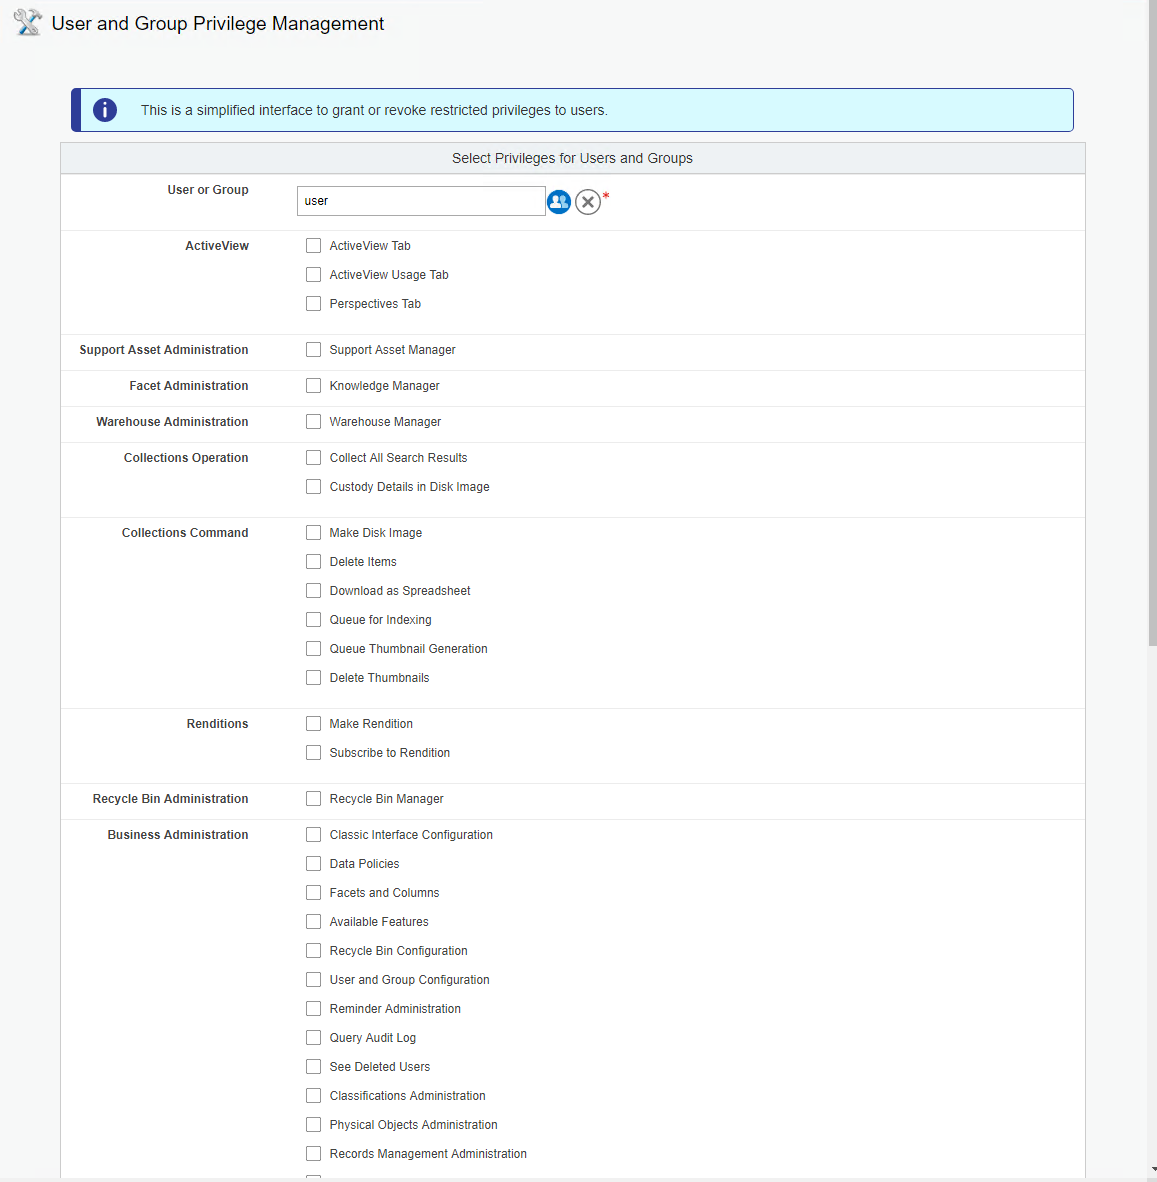
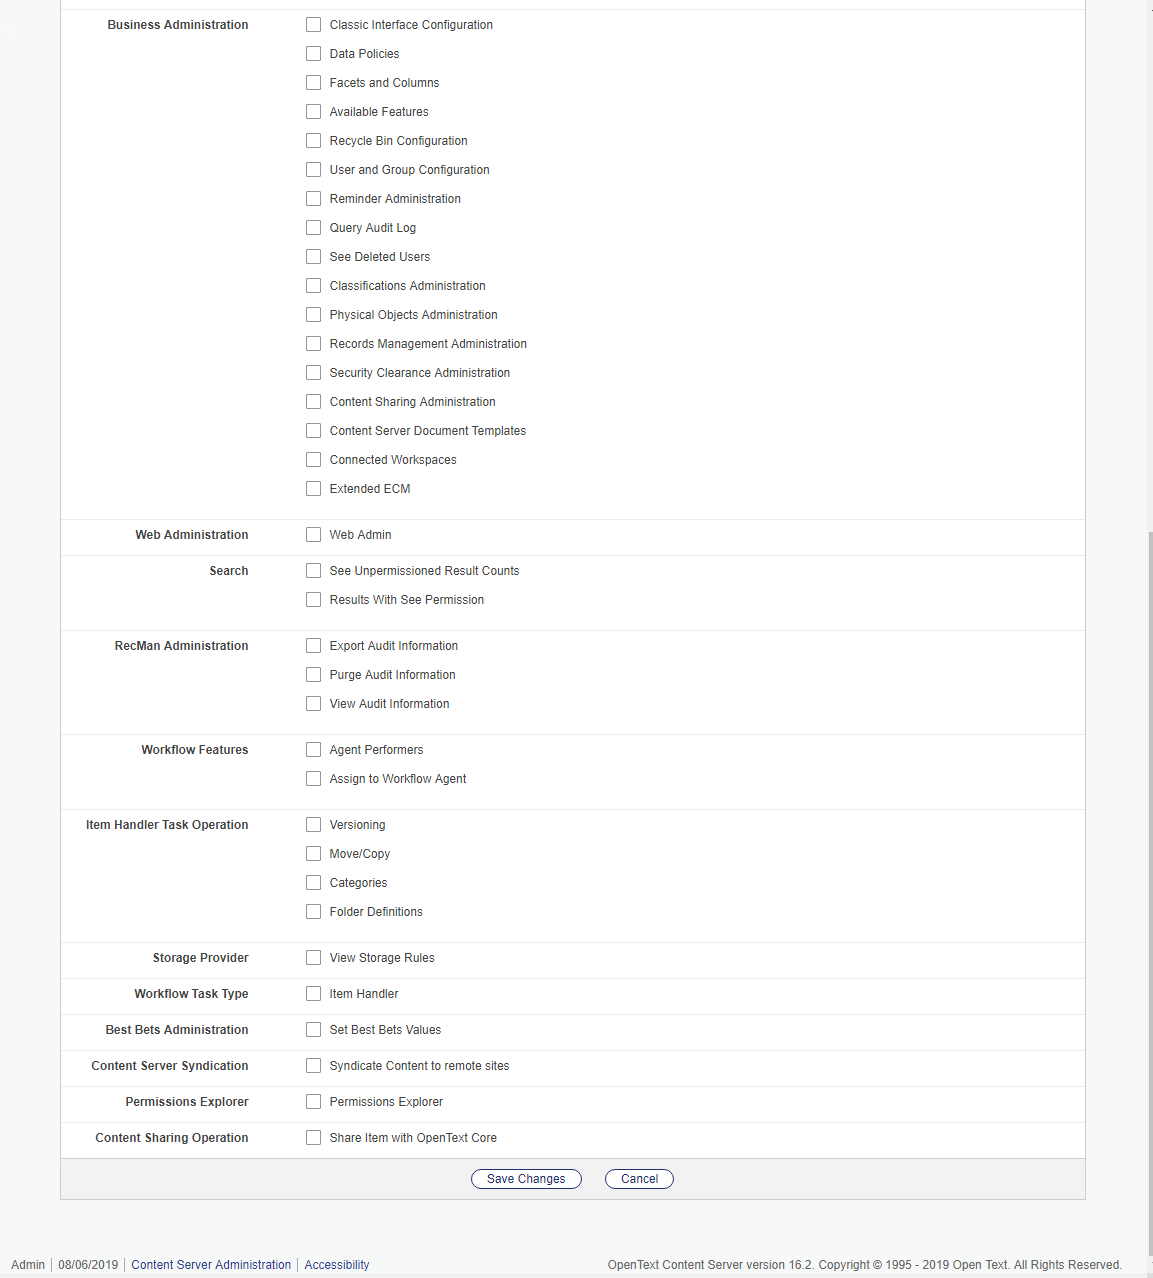
The new “User and Group Privilege Management” Admin Page allows a user to be assigned to multiple privileges. This is mainly to simplify the Business Admin Roles. Here are two screenshots:
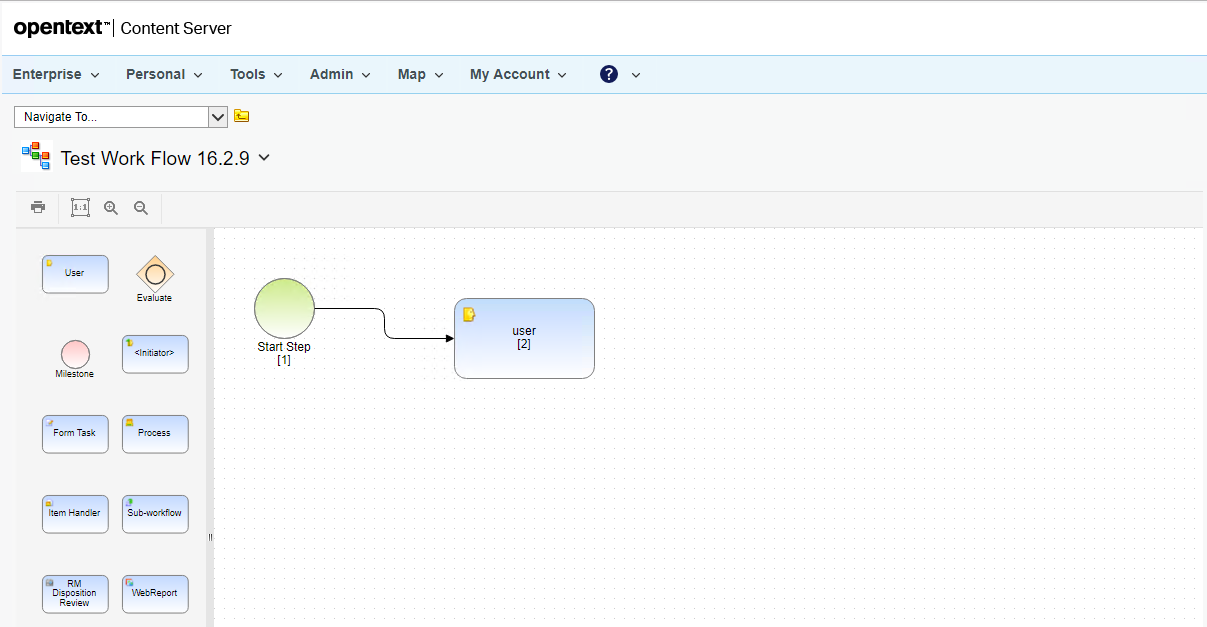
There are seveeral new things implemented in the Workflow area of Content Server 16.2.9.
First think of a very simple workflow defined like this.
A really simple workflow
Lets set the name of our workflow to “Test Work Flow 16.2.9”. Lets initiate it.
Stop Action in smartUI
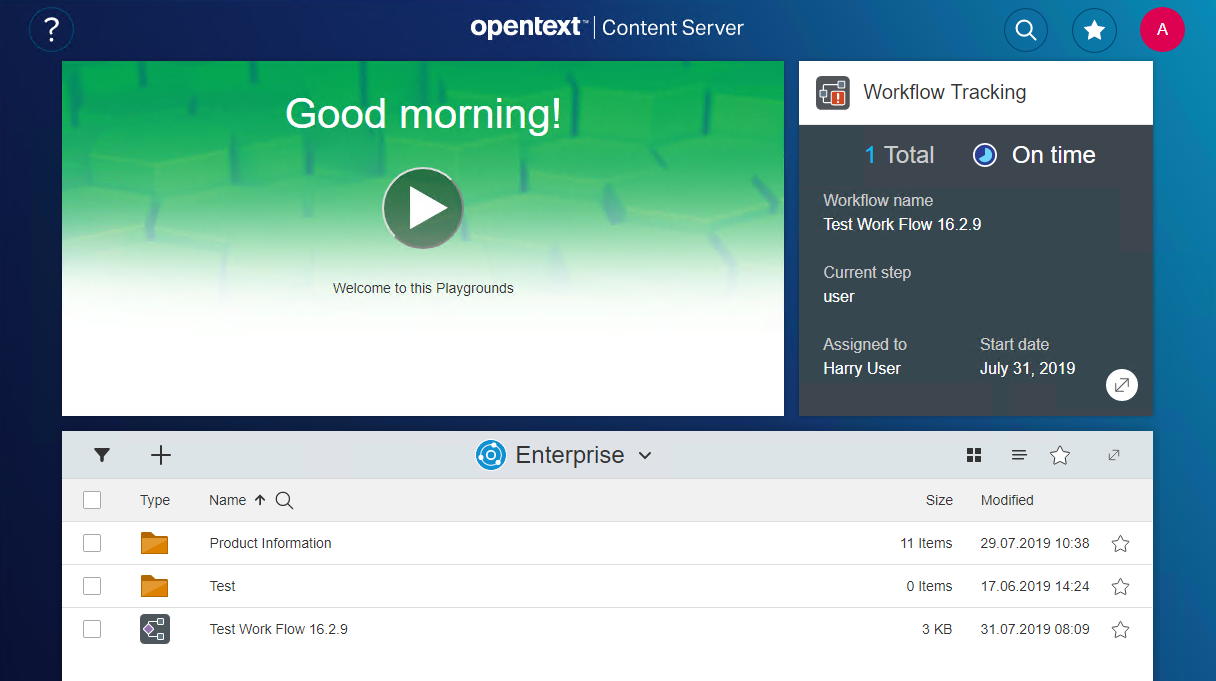
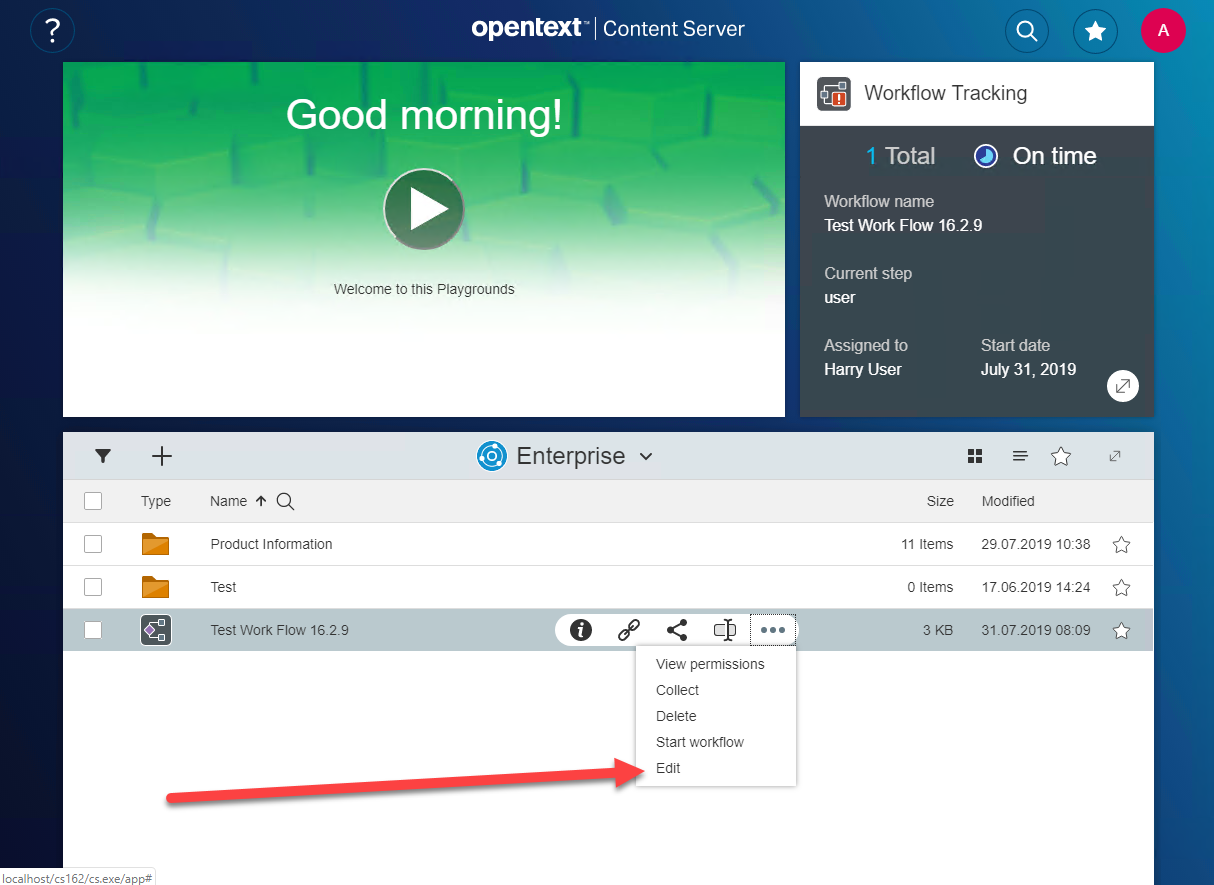
If configured on a landing page, the workflow tracking widget shows our workflow, once initiated like this
The workflow tracking widget
If you click on the extension button on the lower right of the workflow tracking widget, then there will be a list of all workflows belonging to or initiated by this person will open.
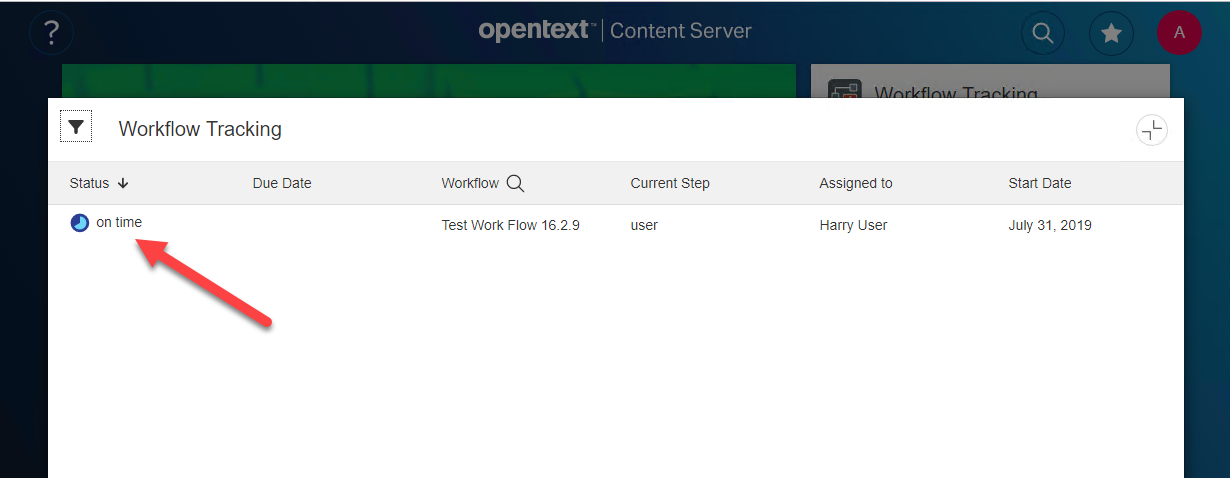
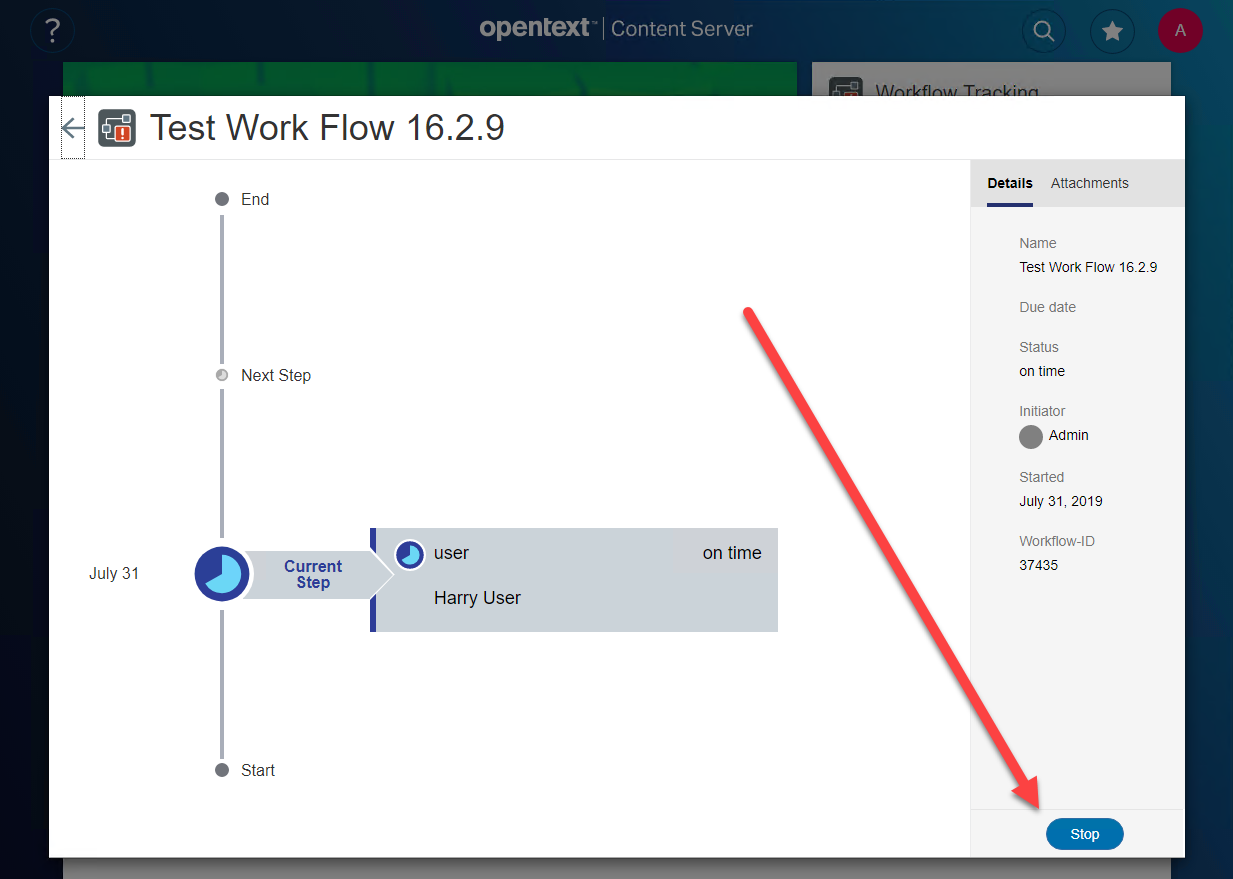
If you click on the status of a workflow (here we have only one workflow to click onto), the details of this workflow instance opens
Here you see a graphical overview of the current step along with all steps of the workflow. This instance of the workflow an be stopped by pressing the “Stop” Button.
Open the Workflow Map from smartUI
A new Edit Action has been added to allow the edit of a Workflow Map
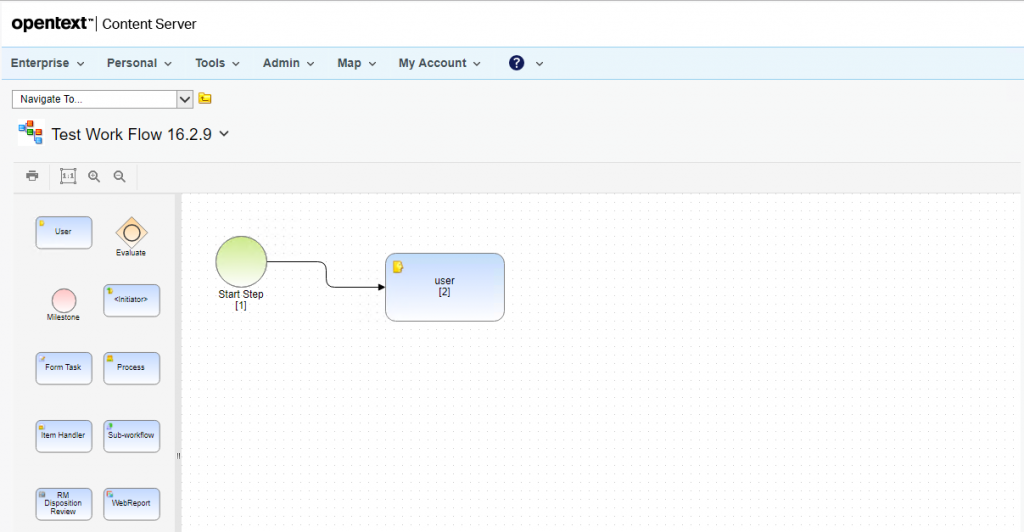
This will open the Workflow Map Editor in the legacy gui
A really simple Workflow
Copying or Moving Workflow Attachments in smart UI
Workflow Attachments can now be moved of copied within the Workflow Attachment Panel
In 16.2.9, there is a nice thing added to smartUI:
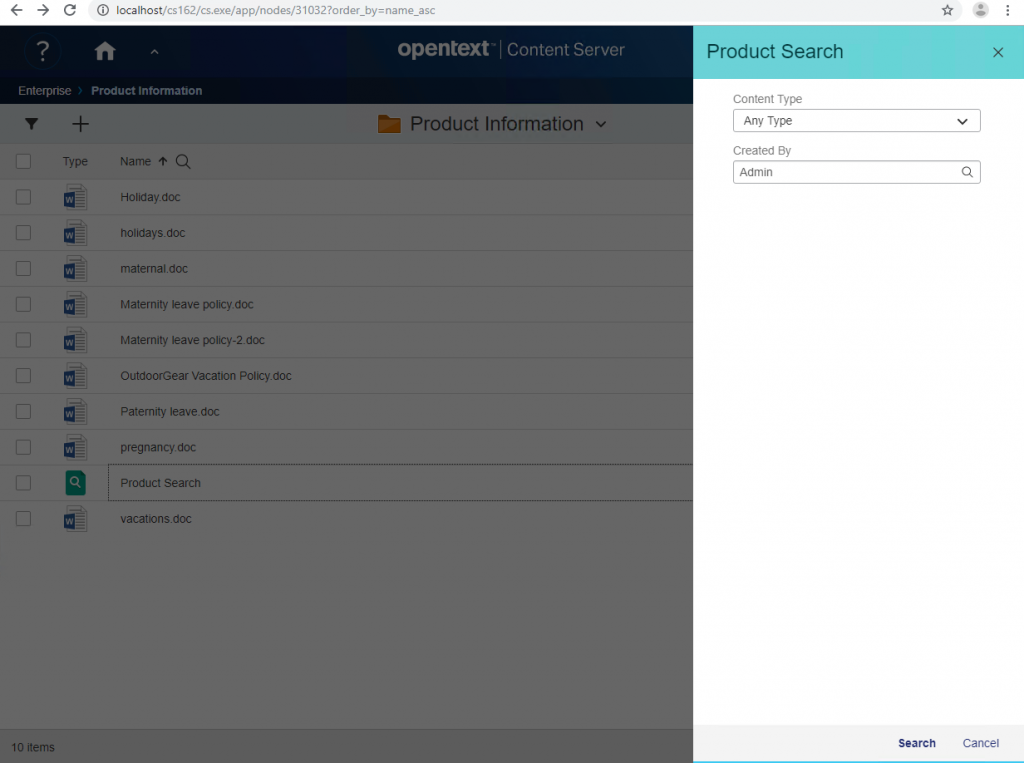
Custom View Search Form
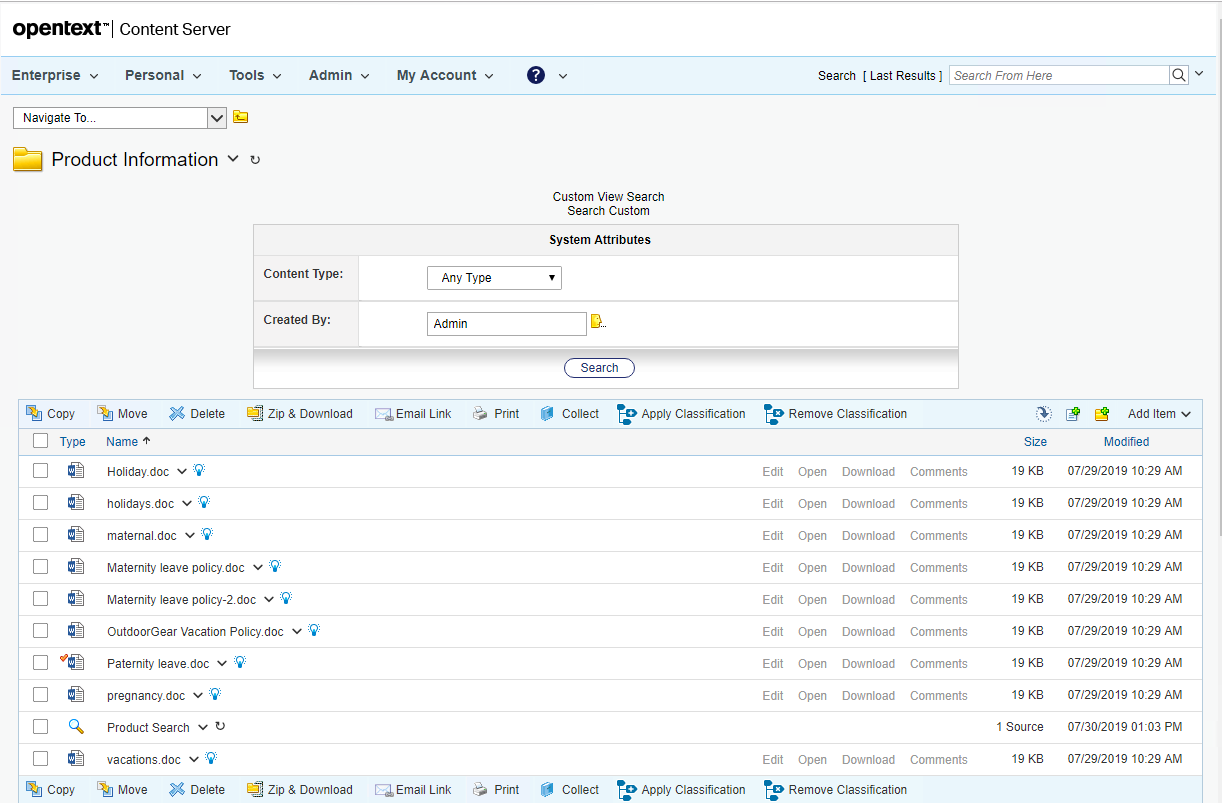
First, a custom view search form has to be configured in the legacy gui, something like this:
A Custom View Search configured in the legacy gui
When switched to the smartUI, a doubleclick on the stored Search “Product Search” starts the Custom View Search
Search not startedSearch started
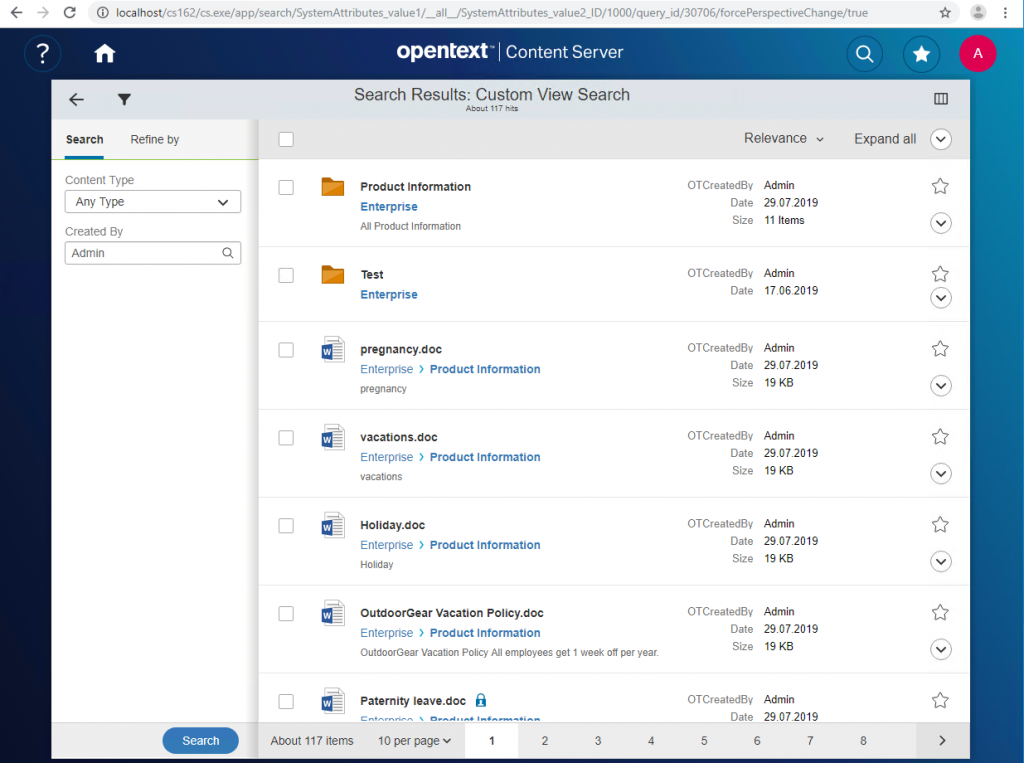
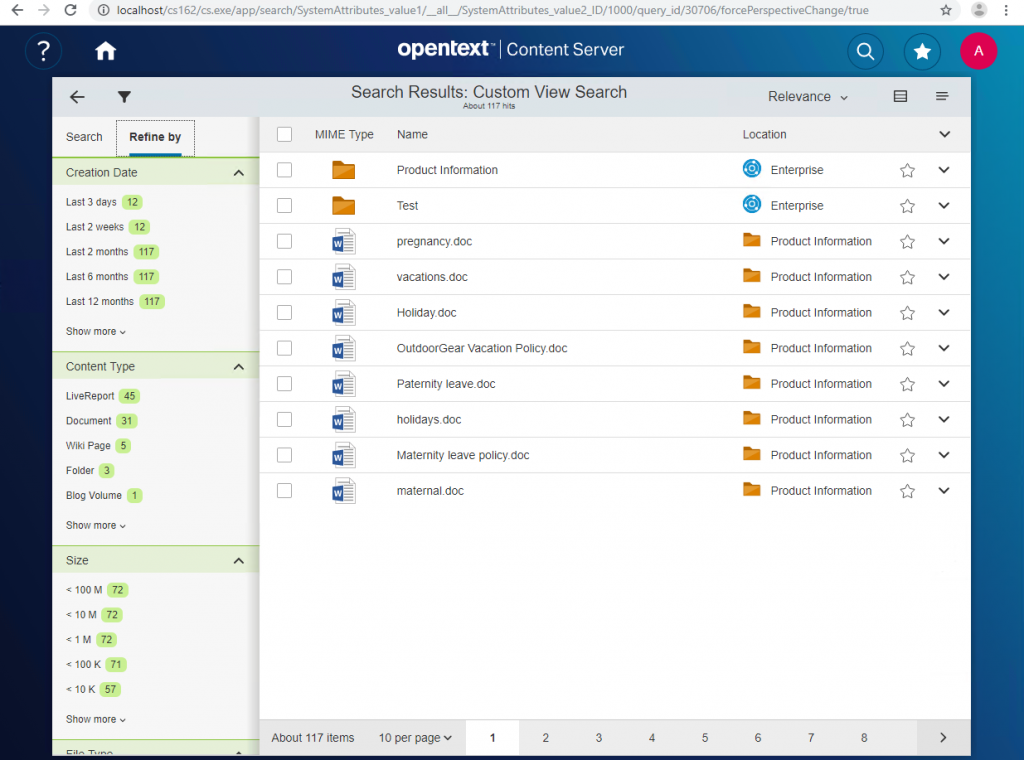
Then the Search Panel appears on the left. Clicking on the “Search” Button will start the search. A click on the icon in the upper right will switch between the standard form and the tabular form of the search results.
Search results in standard list formSearch Results in tabular form