We had an overview of Spacy, which you’ll find here. Today, we shall discuss the installation of Spacy.
So without further redo, lets dive in the installation, shall we?
Content
Step 1: Select the configuation
The main installation page is https://spacy.io/usage
Installation
Install a Python Environmen as prerequisite. Use a newer Python.
Remark: I use Anaconda as free environment.
Step 1: Select the configuation
Select operating system, platform and the pre-trained models.

For example, if you chose to download a windows version for x86 processors and you have a modern graphics card (like the NVIDIA A4000), then you can select GPU with CUDA 11.2-11x option. Here in this picture,the languages English, French, German and Romanian are selected

Step 2: Download
Your configuration will result in a couple of command line entries. You should copy/paste this in your environment.
Remark: I use Anaconda as free environment.
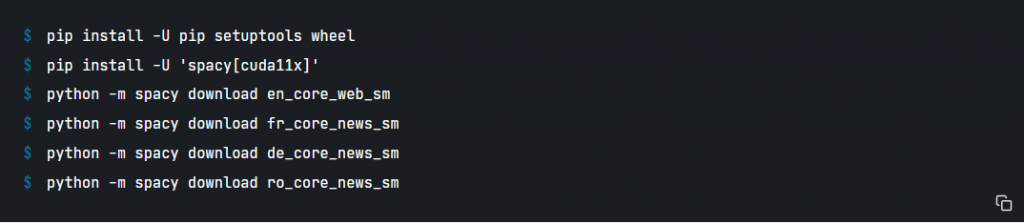
After having executed the pasted lines, they download the components elected.
Visual Studio Code extension
there is also a Visual Studio code extension for Spacy, which can be used as IDE-
It can be found at https://marketplace.visualstudio.com/items?itemName=Explosion.spacy-extension